


The time has come to replace the batteries in your golf cart. So here is a basic step-by-step “How To” article for the guy that wants to save a few bucks and knock the job out at home.
How To Replace The Batteries In Your Golf Cart
This is a very straight forward job for anyone that knows their way around a tool box. So if you are a seasoned DIY kinda guy, no worries. You will be having beers with your buddies or out on the lake fishing before you know it.
What You’ll Need
You will need a few basic tools to replace golf cart batteries. Like..
- a ratchet and socket set, or specifically a 1/2 and 9/16 socket or open ended wrench
- battery carrying straps
- long handled scrub brush
- safety glasses
- easy access to water and a water hose
- a good quality corrosion block product or two
- and a few rags to get the job done
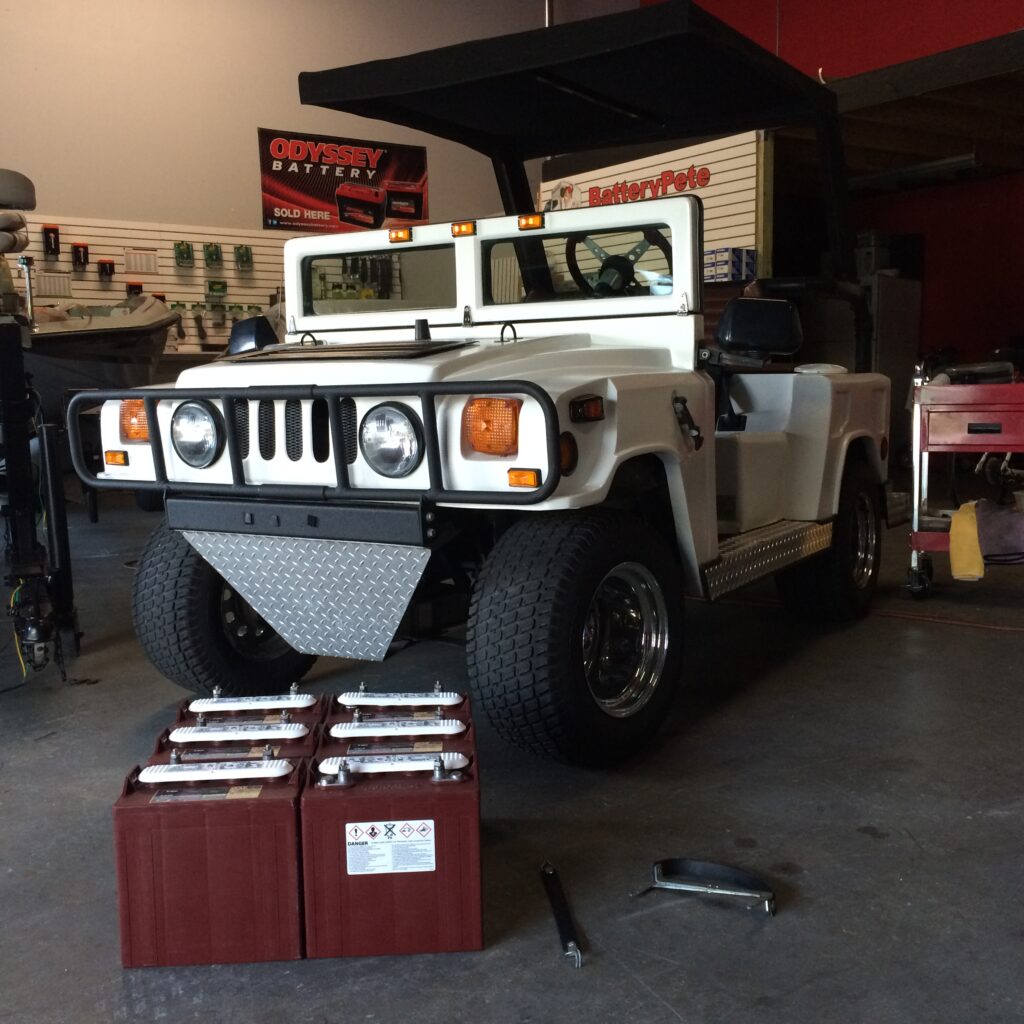
And of course a good quality golf cart battery. In this case we are going to use the Trojan T875 Golf cart battery. Trojan has been manufacturing golf cart batteries for decades so they know what they are doing. The products they make are hands down some of the best in the business.

We are replacing the batteries in this cart because they are a little over three years old and looks like one battery was already replaced. This creates a mixed match of batteries and brands… It does not have a label so we cannot even determine the Ah rating or brand. But it already is showing signs of ballooning and when load tested it doesn’t perform very well. Not to mention our battery charger no longer wants to cut off.
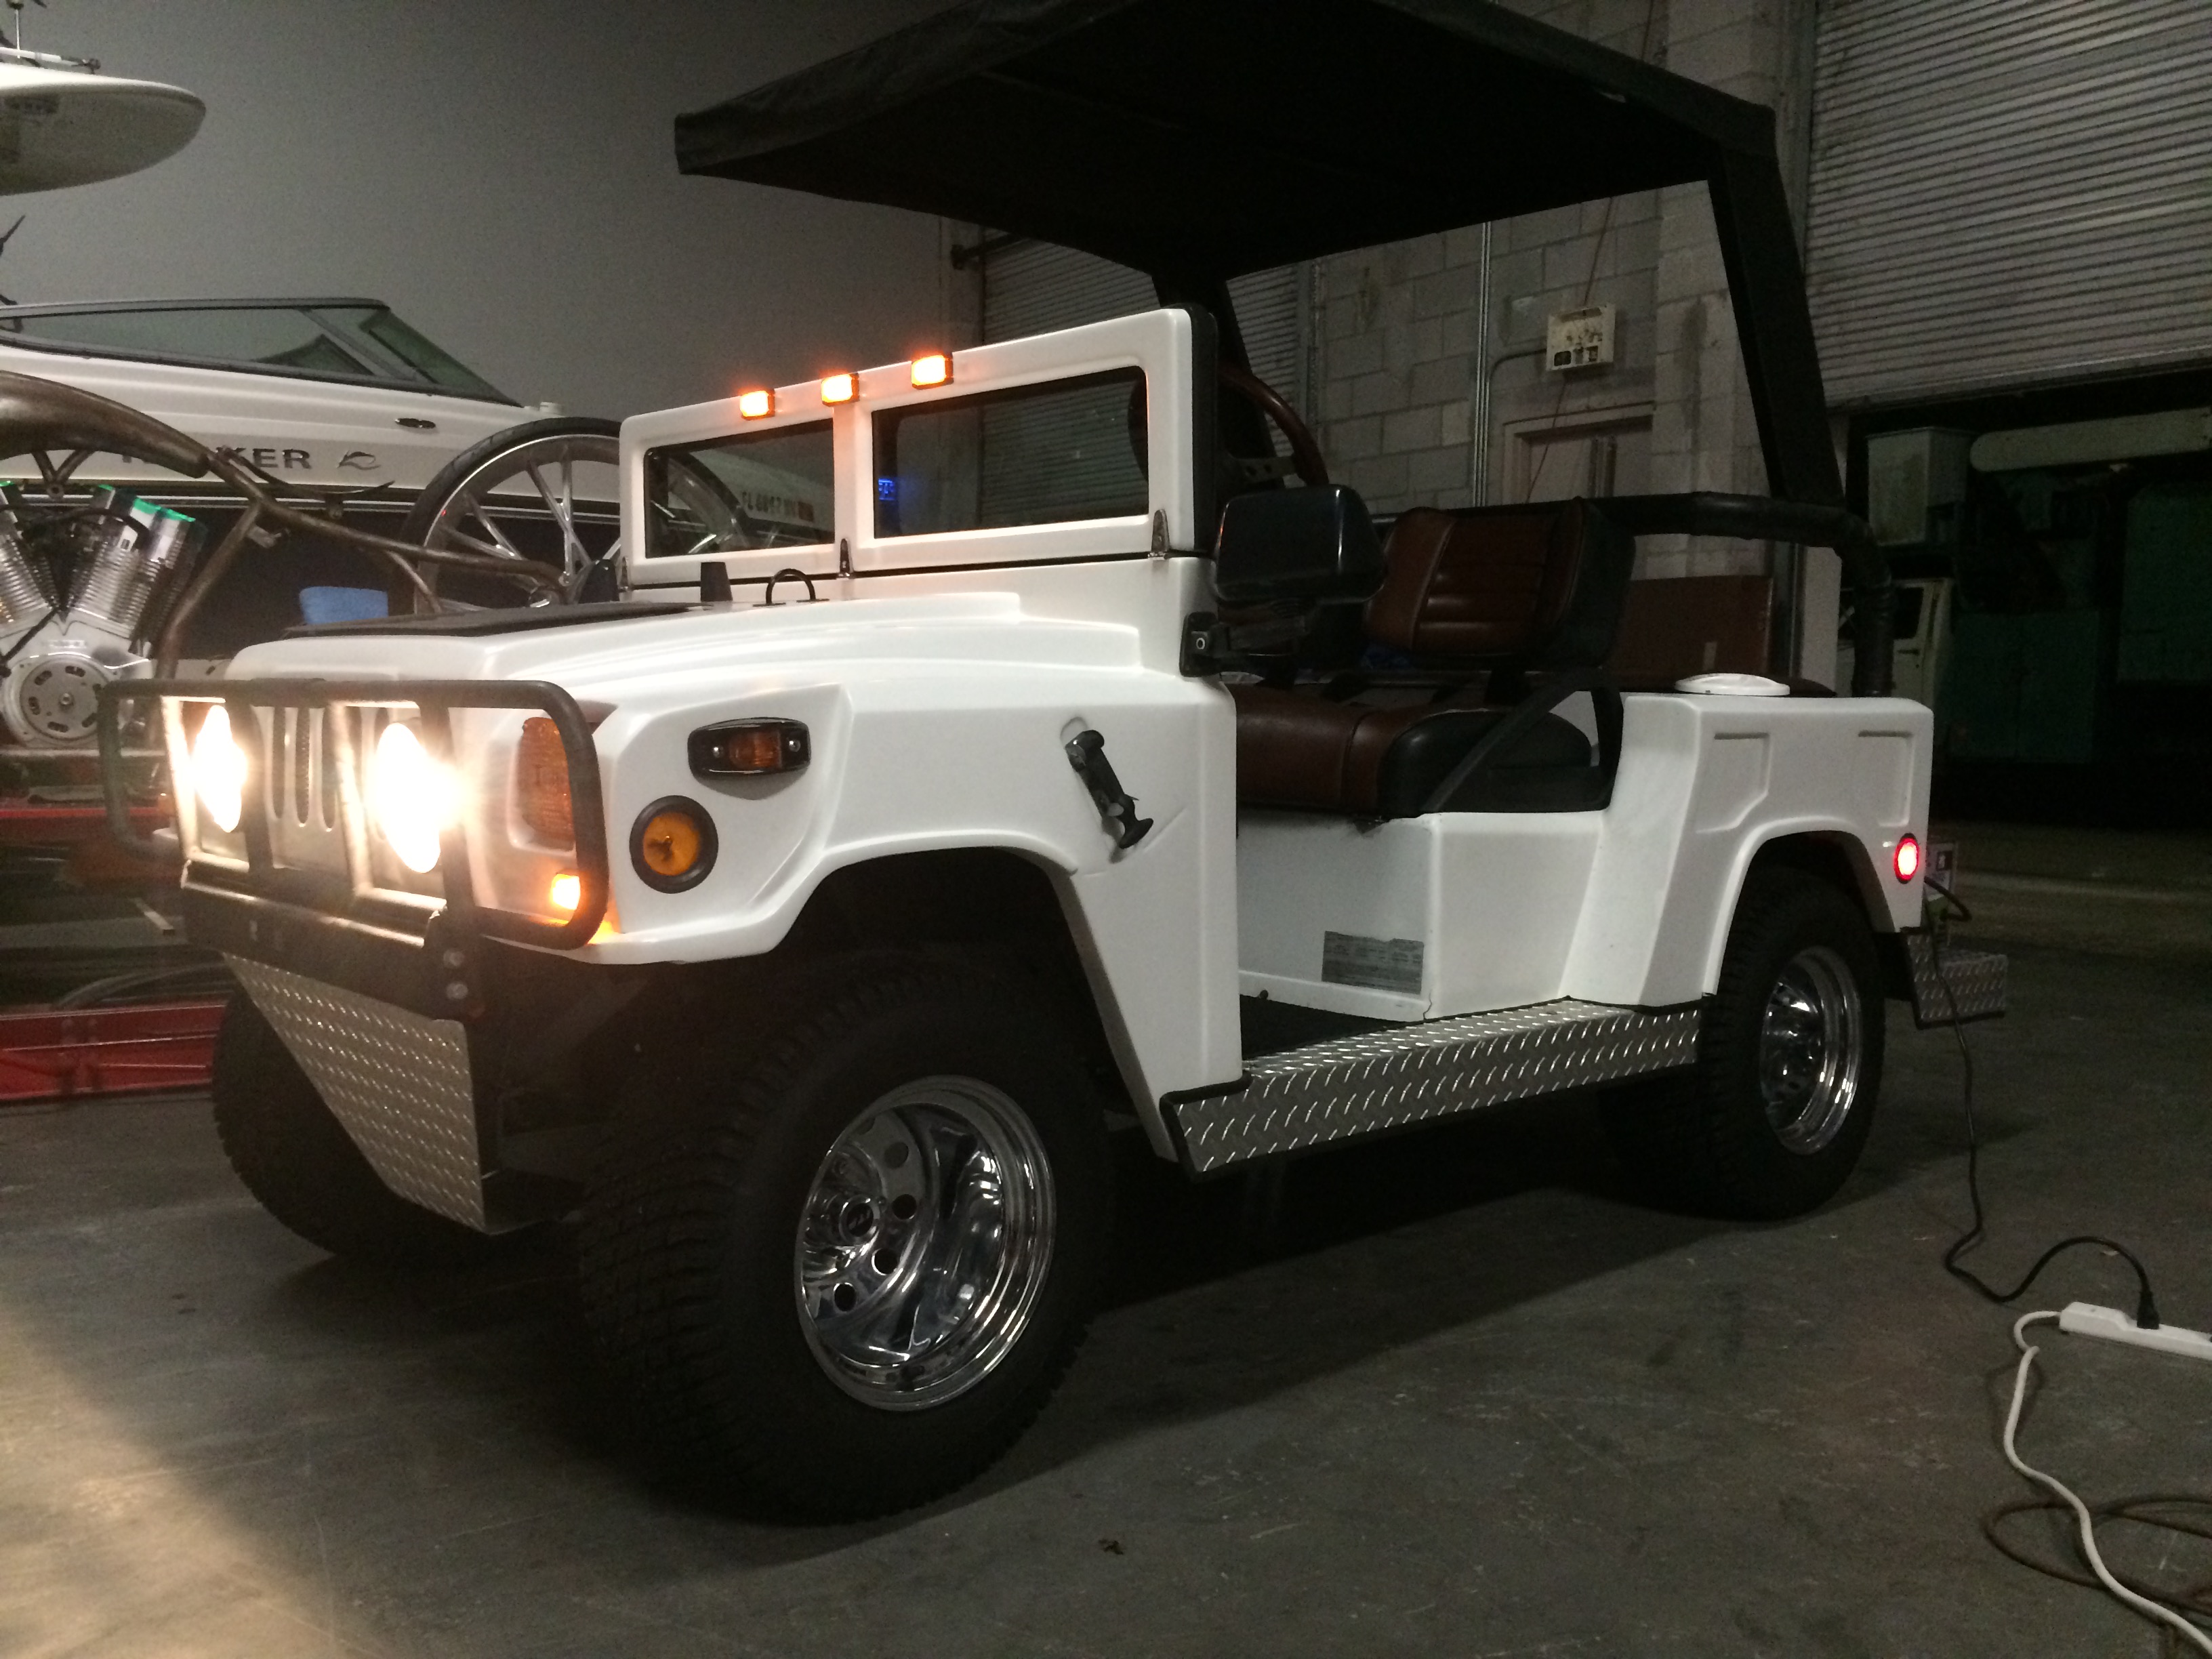
All new style golf cart battery chargers charge the batteries through the on board computer so they know how much amperage to apply to the battery bank and for how long. Currently this golf cart has a Lester Electrical 48 volt 13 amp Links Series golf cart charger hard wired into the rear cargo area. Currently we are offering a blow out sale on it at $288 – Free shipping!!! Learn More about Golf Cart Chargers.
Stay tuned to the BatteryPete Blog because we will be doing another article on this cool custom club car golf cart as we swap chargers because the Lester Links Series just is not designed to be used as an OnBoard Charger. It is taking up 25% of the cargo space under the rear seat. We will be installing the New 912-4800 48 volt 13 amp Delta Q QuiQ golf cart battery charger which is designed for onboard use. So we will be able to mount it out of sight and reclaim our much needed cargo space.
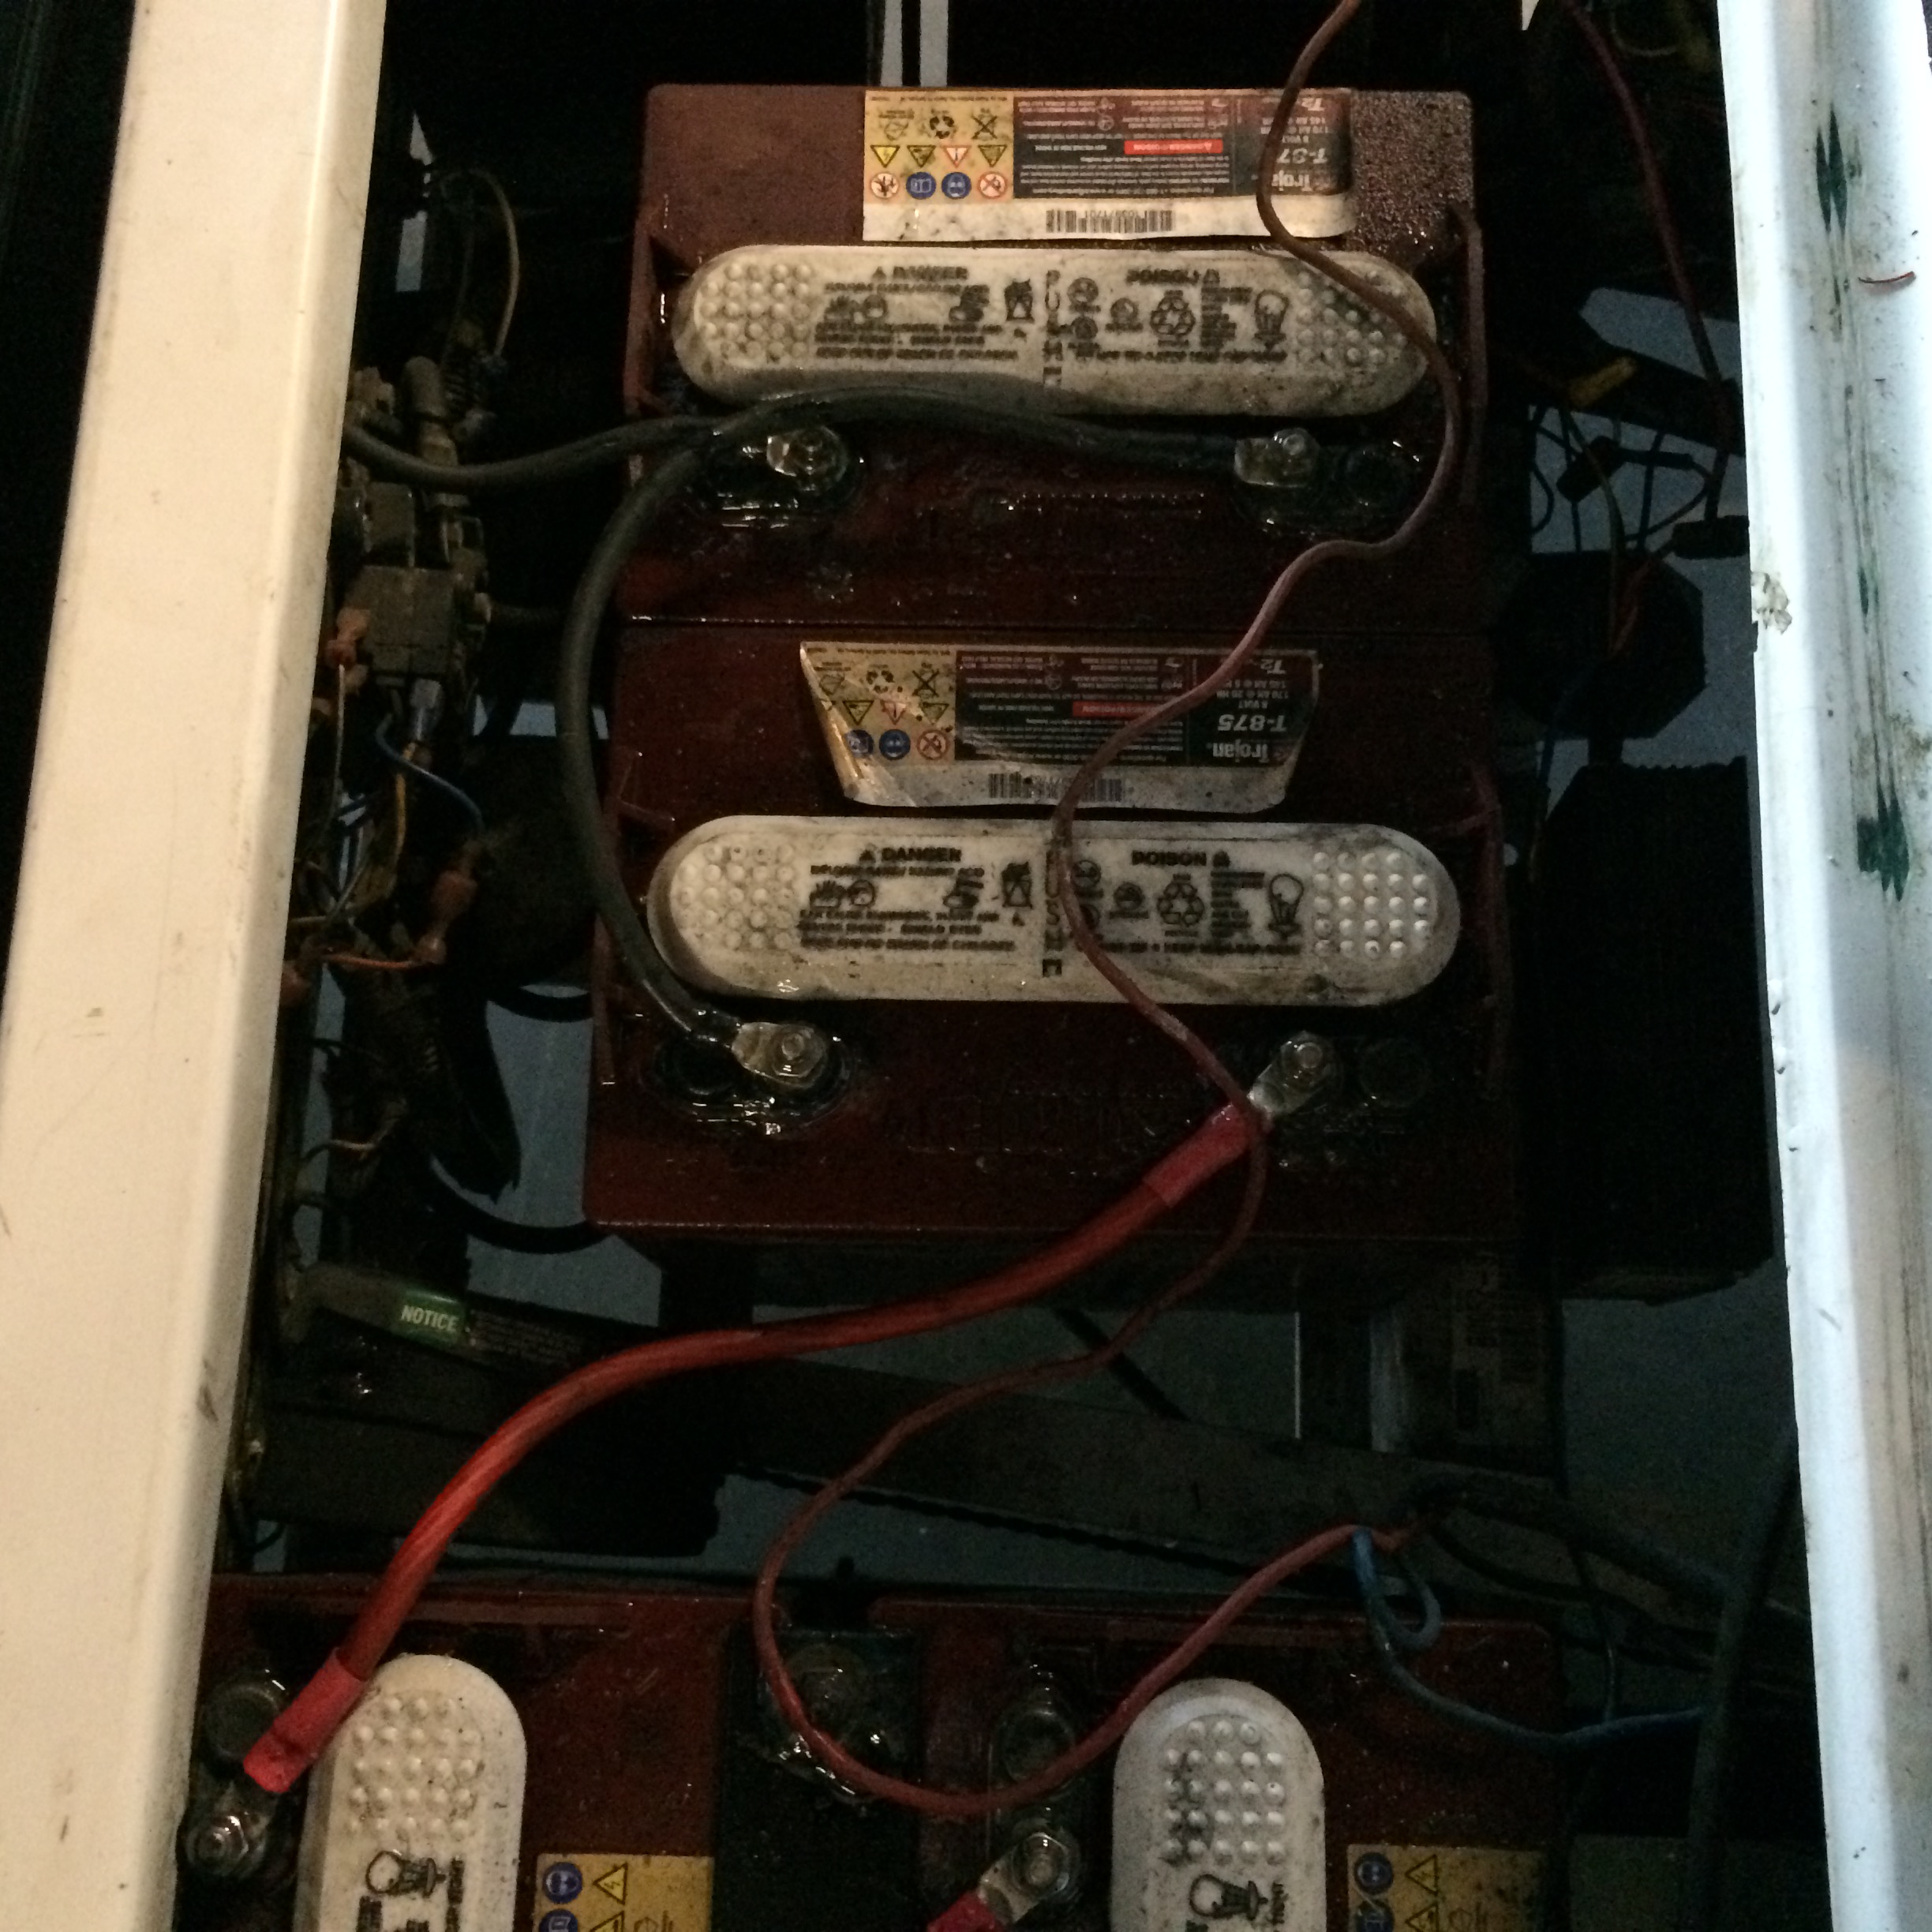
Step One Take Pictures!!!
Even a seasoned guy like me with hundreds of installs under my belt. Whenever I replace golf cart batteries or any multi-battery bank system like in a boat or Rv I take pictures first. It is so easy to forget where “that wire” went if you get side tracked on anything for 5 minutes or an hour once you start this job. Everyone on the planet walks around with a camera in their hand these days – use it! You will thank me later – because I bet at least 75% of you guys will go back and look at them to reference something in the install.
Step 2 – Disconnect Batteries
Disconnect, clean, and inspect each battery cable as you remove to make sure they are still in good shape. No corrosion or breaks in the jumper that could cause issues and sacrifice performance of your golf cart. Lay them out if possible the same way they sat and attached to the top of the corresponding batteries. (easy to figure out what went where during the installation.) Next you will use your handy battery straps and remove the batteries. As you pull out it is wise to set down in the same orientation they were in the golf cart so you can look at a glance when you grab the new ones to install correctly. Golf cart batteries are heavy – so the less you have to handle them the better.

Step 3 – Clean Battery Hold
Once all the batteries have been removed you will want to push the cart outside somewhere you can access a water hose. Spray down the entire battery hold and get out that long handled scrub brush to help remove any corrosion or dirt and grime from the frame rails. After you have done that take a five minute break while it dries out (We use air pressure at the shop to kinda blow dry the area to speed up the process.) Once dry you will apply some type of corrosion block or preventative. The best on the market for any alloy is called exactly that “Corrosion Block”. It comes in a tail narrow aerosol can that is blue, silver and white in color. After you thoroughly apply to the frame rails that come in contact with the golf cart batteries you are ready to install the new batteries.
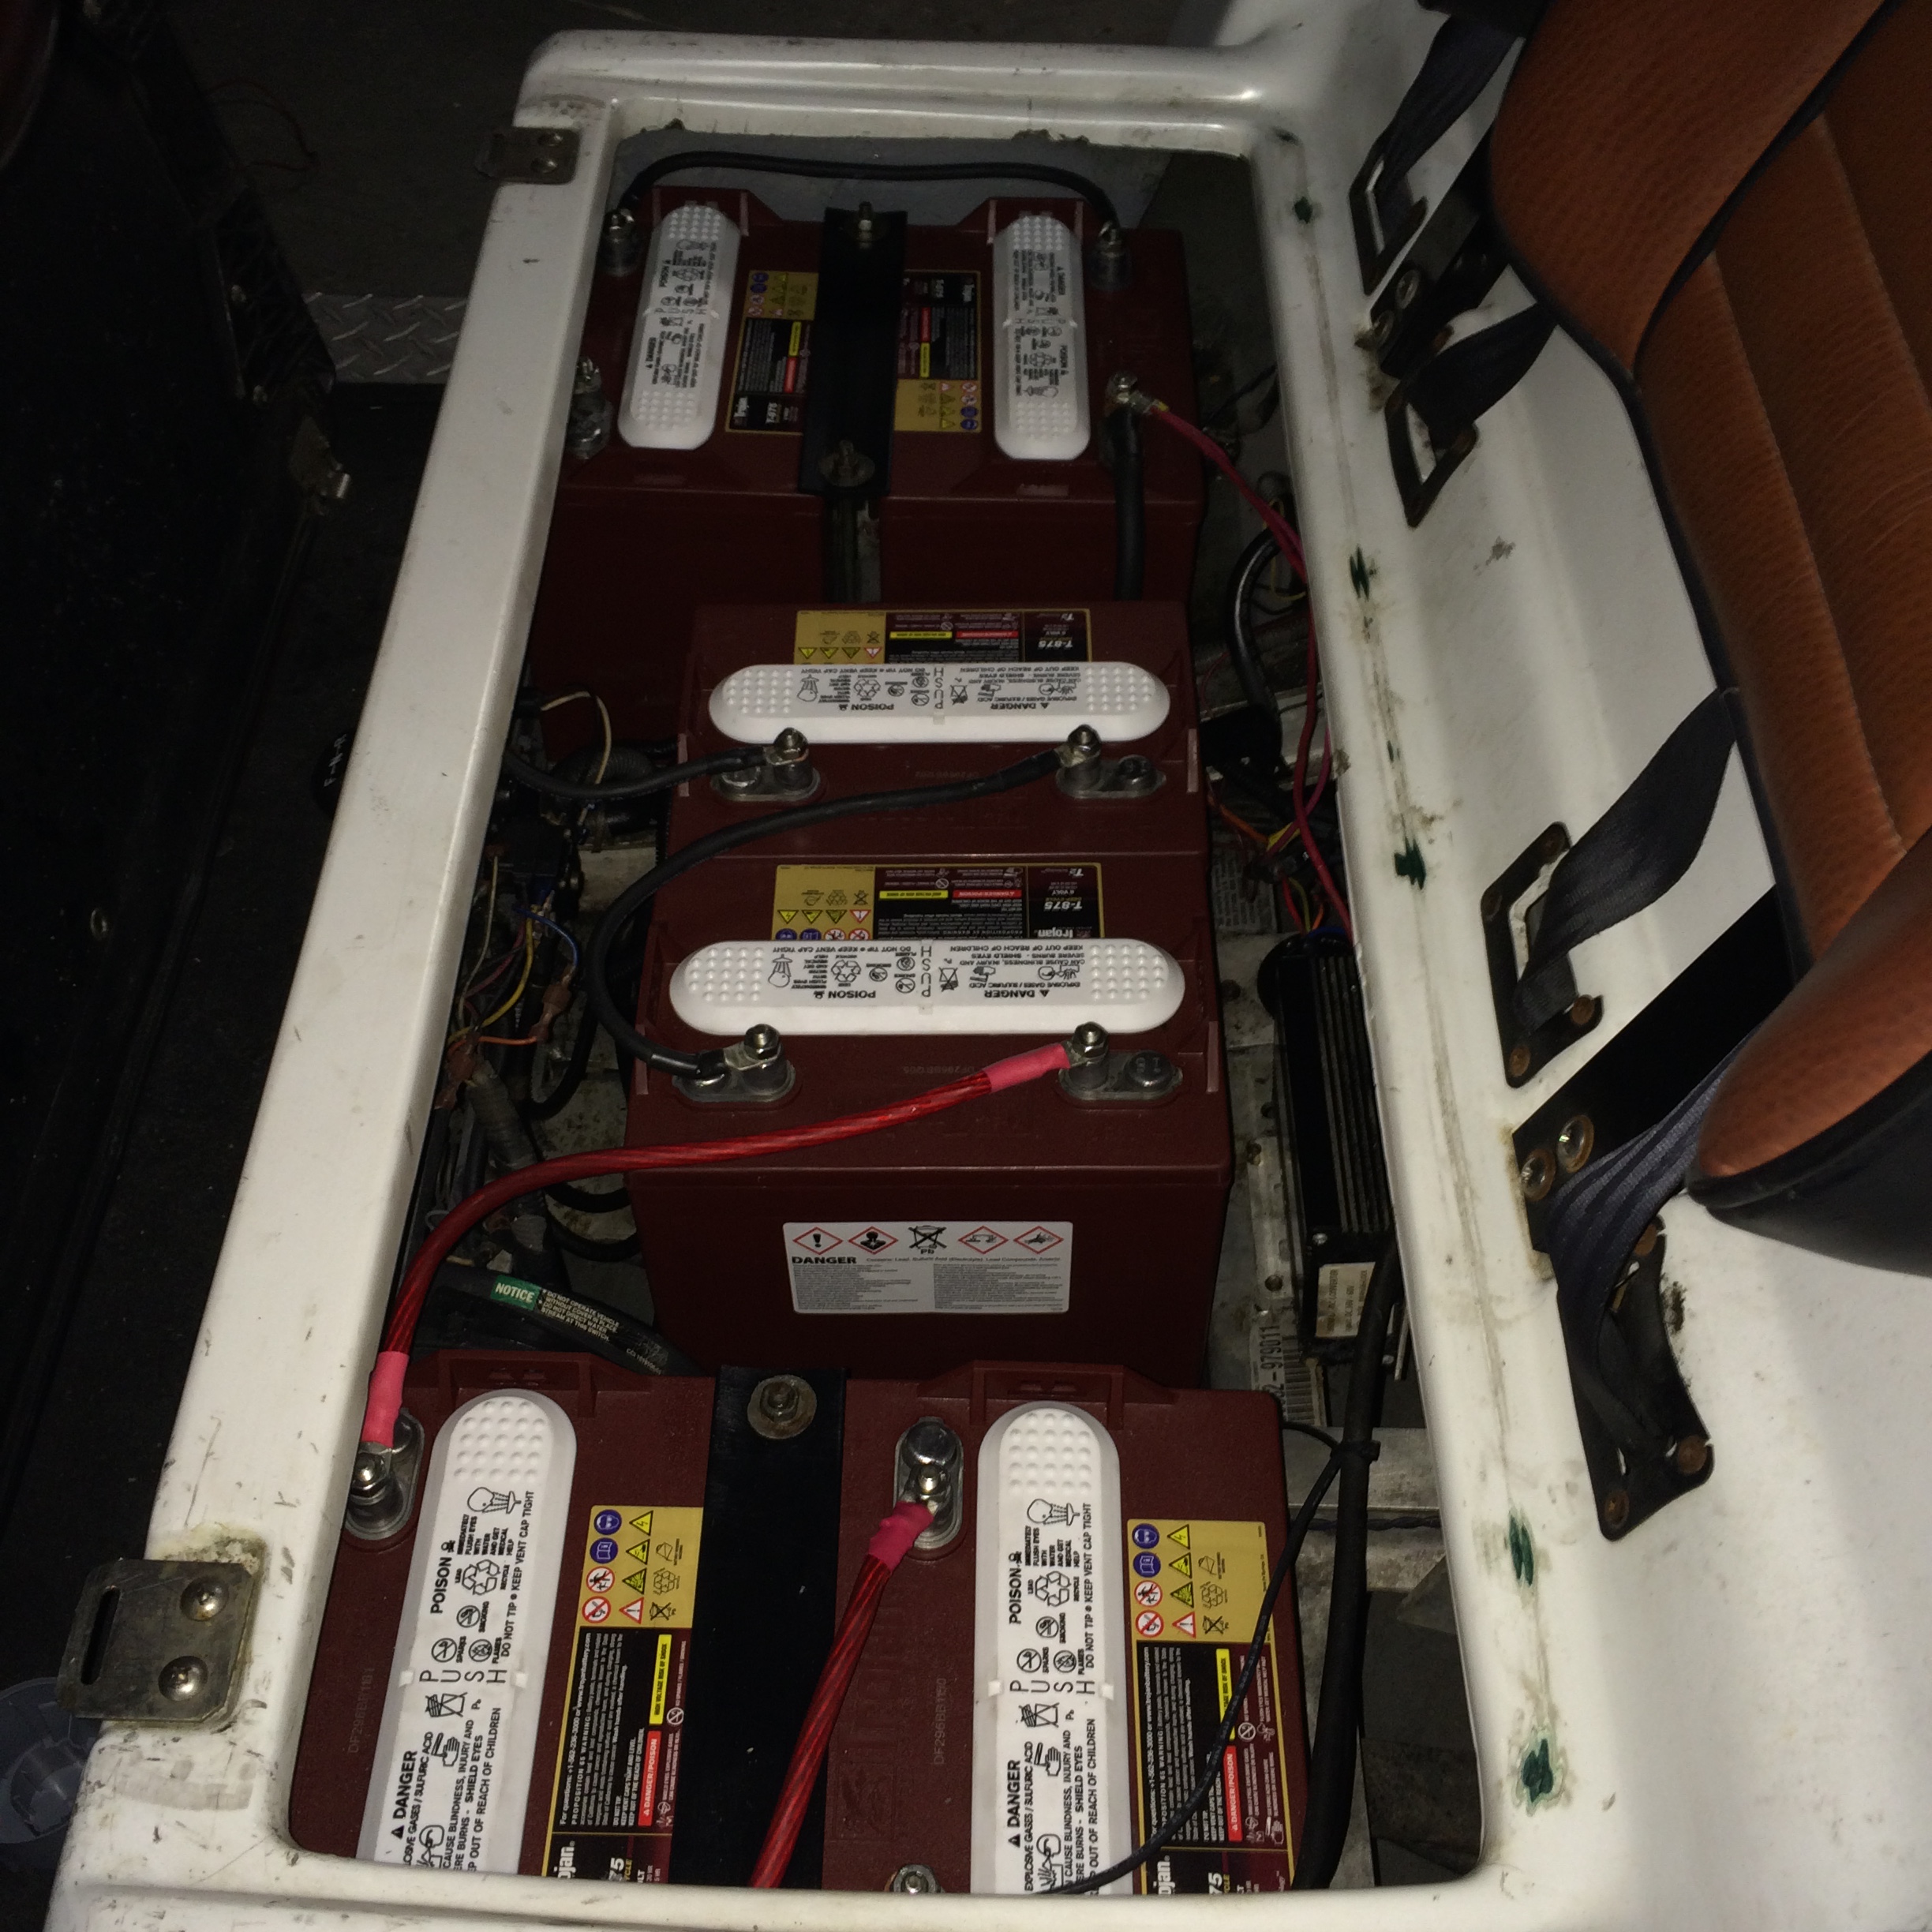
Step 4 – Install
Place the new golf cart batteries in their respective slots or place. Hook up all the jumper wires (battery cables) that connect all the batteries to create the 48 volt operating system. After you have done so check all functionality of your cart (forward, reverse, lights, stereo, etc…) to make sure all is working properly. After a quick spin around the shop you can feel the the power of the new batteries in your seat and see the lights are shining bright. Alright!!!!!!!!!! Almost Done….
If all is working properly then you will want to apply a slightly different type of corrosion preventative to all the terminal connections. We use a product from Quick that works great. Quick Cable Corrosion Preventative. It comes in an aerosol can as well so no messy brush or goop to apply, just aim and spray. Not only does it work great but it looks good as well because it dries clear. (It sprays on white so you can see the area covered but dries clear)


2 thoughts on “How To Replace Golf Cart Batteries”
Great info! I’m interested in replacing old batteries with lithium ion batteries, my Club cart is 1999 DS 36v. Is this feasible?
If you use daily … sure… though up front costs will still range from 2-5k depending on the quality of lithium pack you choose…. again cost of ownership is where lithium batteries excel… service life and cycle life is through the roof… 5000 + charge cycles and 10-20 year service life is attainable.
Comments are closed.