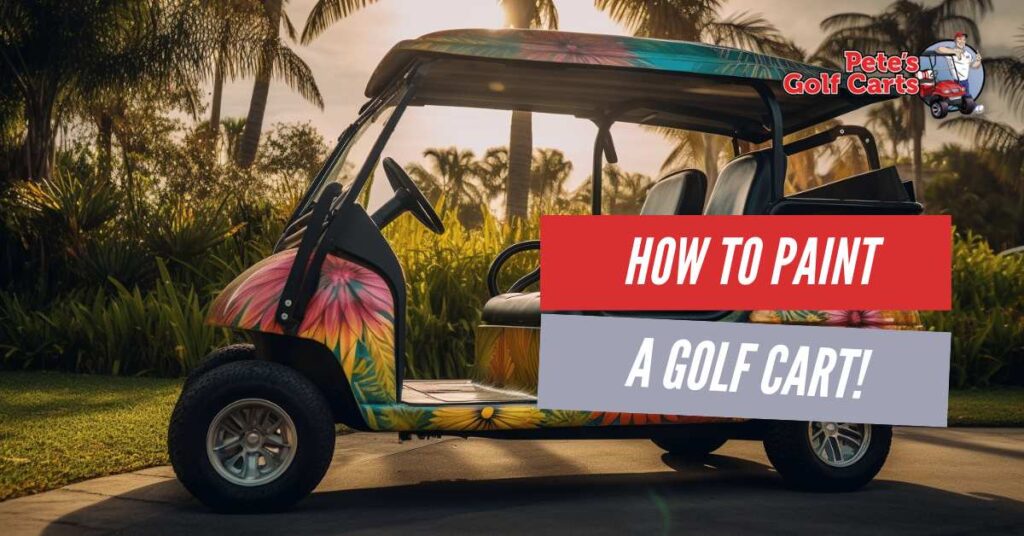
Sure, a golf cart’s about getting around, but why not make that journey a bit more stylish? Painting your cart isn’t just about looks; it also protects against wear and tear. Today Pete will walk you through how to get a durable and dazzling finish that’ll make your cart the envy of the course (or the neighborhood!).
Table of Contents
Prep Work is Everything!

Think you can just slap some paint on your golf cart and call it a day? 🤔 Think again! The secret to a flawless, long-lasting paint job is all in the prep. It might seem a bit tedious, but trust me, those extra few hours now will save you a huge headache (and potential peeling!) later. 🤕
Disassembly is Your Friend: Remove seats, lights, trim pieces – anything you don’t want painted. Taking this extra time gives you way better access for a clean finish and avoids accidental paint mishaps. 🎯
Clean Like You Mean It: Your cart’s been places, seen things! Wash it thoroughly with soap and water. 🧼 For stubborn grime or old stickers, degreaser is a lifesaver. Don’t skip this step – paint won’t stick well to a dirty surface. 👎
The Scuff Shuffle: Time to rough it up (gently!). Sanding your cart’s body with fine-grit sandpaper (around 220-320 grit) creates tiny scratches that help the primer and paint adhere much better. 💪
Mask It Off: Cover any areas staying the original color – wheels, emblems, etc. – with precision. Painter’s tape and plastic sheeting will protect against accidental overspray and give you those crisp color lines. 😎
Put everything you've removed in a box or somewhere safe, so you're not scrambling for missing pieces when it's time for reassembly!
Pro Tip
Painting Like a Pro
1. Prime Time ✨
- Lay down that primer with light, even coats – a little overlap is good! 👍
- Patience is key! Let each coat dry completely before the next (your primer has the deets on drying time). ⏳
- 2-3 primer coats are usually the sweet spot for maximum coverage. 😎
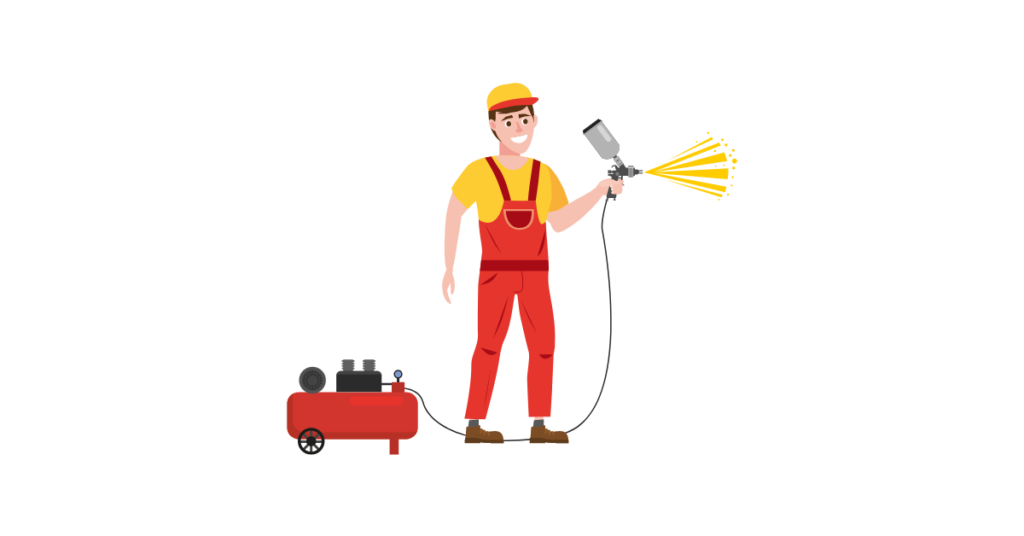
2. It's Spray Time! 🎨
- Good ventilation is a must! Garage is ideal, or outside on a calm day. 🌬️
- Practice makes perfect! Test your spray skills on some cardboard first.
- Hold the can 10-12 inches away and spray in smooth, steady motions.
- Thin coats for the win! Build color gradually to avoid those dreaded drips. 💧
- Think layers, not globs! Multiple thin coats are the pro way to go. 💪
3. Clear Coat for the Win 🏆
- Once your color is totally dry, seal the deal with a clear coat for shine and protection. ✨
- Same technique as before: light, even coats with drying time in between.
Invest in a Respirator: Paint fumes are no joke! A respirator designed for paint vapors is a must.
Pro Tip
Unleash Your Creativity

Think basic paint is boring? Think again! Time to let your personality shine through your cart:
- 🔥 Bold Two-Tone: Pick two contrasting colors for a striking look.
- 😎 Stencil It: Add custom designs, logos, or even a fun quote.
- ✨ Get Decaled Out: Spice up the look with decals (think flames, stripes, your fave sports team…endless options!)
- 🎨 Inspiration Overload: Check Pinterest or Instagram for tons of unique golf cart paint ideas
wrappign up
Now the fun really begins! Hit the fairway in your freshly painted ride and feel that awesome sense of accomplishment. I can’t wait to see what awesome color combos and designs you guys come up with. Don’t be strangers – share your creations and any questions you have on our social media!
FAQ's
deally, you want to start with the smoothest surface possible. Remove any decals that will protrude under the paint. If you’re covering very old paint, sanding is especially crucial to help the new paint adhere.
Don’t panic! If the paint is still wet, try wiping the drip away gently with a clean cloth. If it’s dry, wait for everything to fully cure, then lightly sand the affected area and reapply a thin layer of paint.
Drying time depends on the brand of paint, temperature, and humidity. Always consult your product’s instructions. In general, allow 24 hours before reassembling your cart and a full week for the paint to fully cure.
A garage with excellent ventilation is ideal. If painting outdoors, choose a calm day with low dust and no direct sunlight (which can cause paint to dry too quickly).
You can repaint your golf cart! However, the thicker the existing paint, the more thorough your sanding needs to be before applying a fresh coat.