





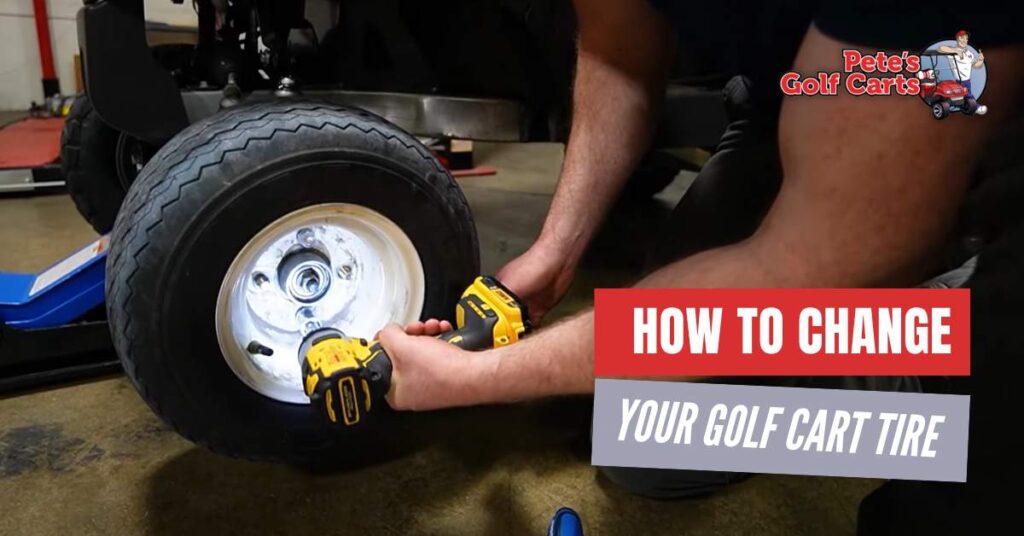
UPDATED OCTOBER 2026
You walk out to your golf cart, ready for a ride, and one tire has apparently decided to take the day off. Or maybe your old set is worn out, and the new wheels sitting in the garage are practically begging to go on.
Either way, you’re probably wondering: can I handle this myself?
Swapping a complete golf cart tire-and-wheel assembly can be a manageable DIY job with the right equipment and your cart’s instructions. Replacing the rubber tire on its rim is a different job that calls for tire-mounting equipment and training.
Let’s sort out which one you’re doing, get your supplies together, and walk through the wheel swap without turning your afternoon into a wrestling match.
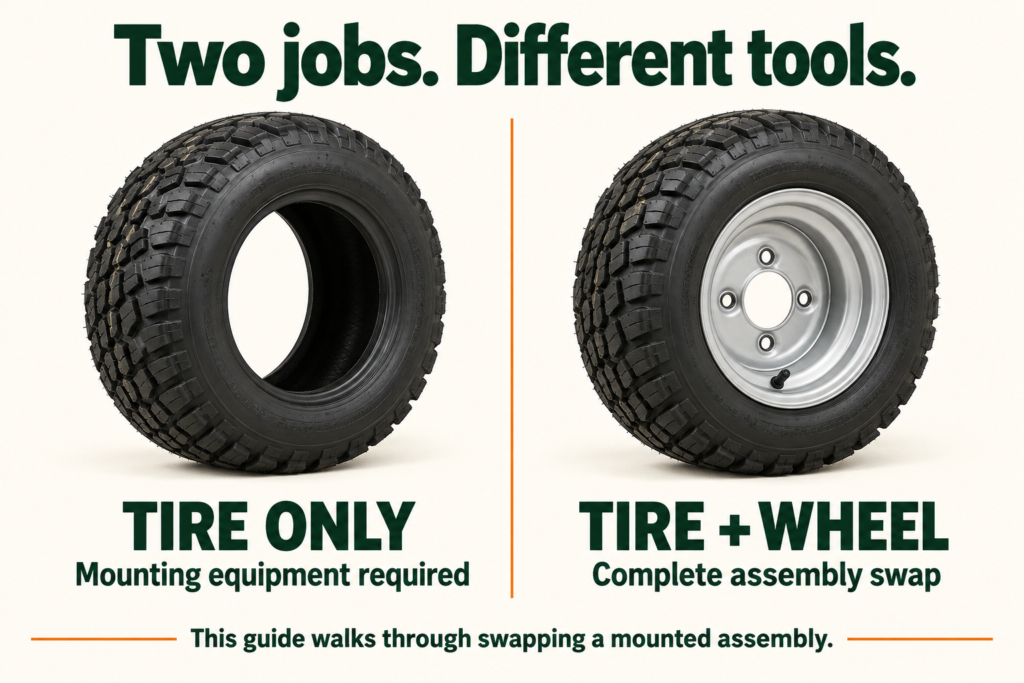
First, which job are you actually doing?
People use “change a golf cart tire” to mean two different things:
| What you’re replacing | What the job involves |
|---|---|
| A complete tire-and-wheel assembly | Removing the lug nuts and swapping the mounted wheel for a compatible replacement. |
| Just the rubber tire | Removing the tire from its rim, inspecting the wheel, mounting the new tire, seating the beads, and inflating it correctly. |
This walkthrough covers the complete assembly swap. For tire-only replacement, a tire shop can mount your new tire on a suitable existing wheel. You don’t automatically need to buy another rim.
For example, E-Z-GO’s wheel and tire instructions distinguish wheel removal from tire replacement and direct tire mounting to a qualified tire center or dealer.
Buying a mounted set can simplify the home part of the job. Take a look at our street and turf tire-and-wheel combos, and confirm exactly what’s included and whether it fits your cart before ordering.
Make sure the replacement fits before you lift the cart
This is a much nicer discovery to make while all four tires are still on the ground.
Confirm your cart’s make, model, year, and any suspension or lift-kit changes. If you need help with that first part, use our guide to identifying your golf cart.
For the replacement assembly, check:
Tire size and capacity: Use an approved size and a load and speed capability suitable for the cart and its intended use.
Wheel fitment: Bolt pattern, center opening, width, offset, and clearance all matter. Matching the number of lug holes isn’t enough.
Lug hardware: The thread size, seating shape, and required thread engagement must match the wheel and studs.
Tire markings: If the tire has a rotation arrow or an “outside” marking, installation needs to respect it.
Tire selection should follow vehicle and tire-maker guidance; USTMA’s replacement guidance explains why size, capacity, construction, and matching matter.
Moving from steel wheels to aluminum? Don’t assume the old lug nuts belong on the new wheels. Check the wheel maker’s requirements before choosing replacement golf cart lug nuts.
Get your tools together before lifting anything
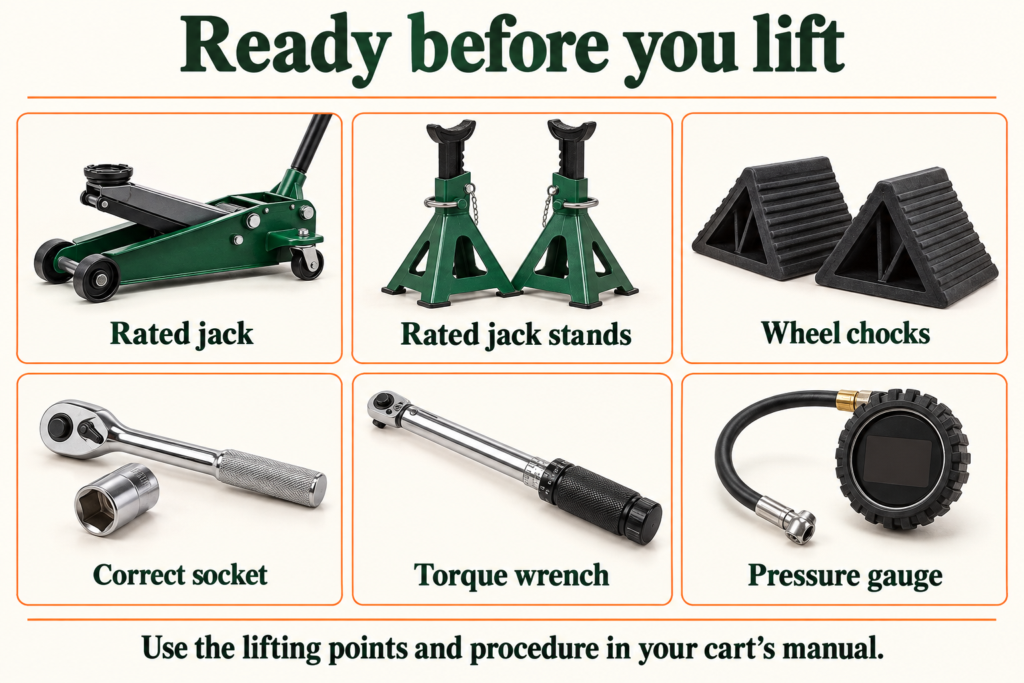
A little preparation beats having to hunt for a socket halfway through the job.
You’ll want:
Your cart’s owner’s or service manual, plus the replacement wheel’s instructions.
A jack with suitable capacity, lifting range, and saddle for the approved lifting point.
Properly rated jack stands that fit the approved support locations.
Wheel chocks.
A correctly fitting lug wrench or socket and breaker bar, plus a wheel-lock key if needed.
A torque wrench suited to the specified wheel-fastener torque.
A tire-pressure gauge that reads accurately in your tires’ operating range.
Eye protection, work gloves, and a small tray for the lug nuts.
Before starting, find the lifting and support points, service-mode instructions, lug-nut torque, and correct cold tire pressure for your setup. If you can’t find those details, pause and get them from the manufacturer or a qualified shop.
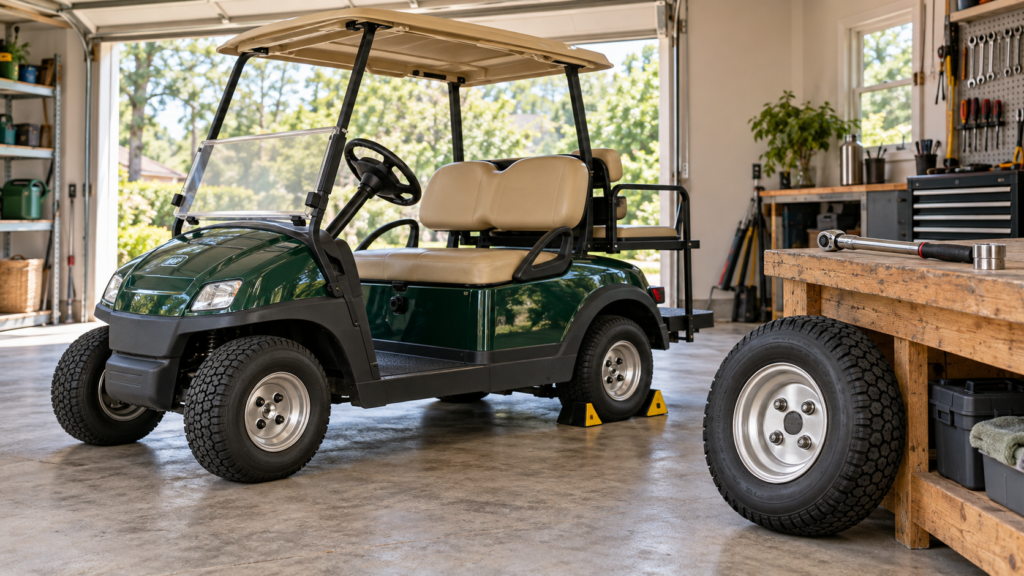
How to change a golf cart tire-and-wheel assembly
1. Park somewhere solid and secure the cart
Choose a firm, level surface with room to work. A solid garage floor is a much better starting point than grass, gravel, or a sloped driveway.
Unload the cart, have everyone step out, turn it off, and follow its manual’s parking and service procedure. Run/Tow switches, electronic brakes, and gas-cart controls vary, so don’t borrow a switch-setting tip from a different model.
Chock the wheels that will stay on the ground to prevent movement in either direction. Don’t rely on the parking brake alone, especially when lifting wheels that provide the braking.
Manufacturer lifting instructions matter here: E-Z-GO’s manual specifies firm, level ground, designated jack and stand locations, and chocks ahead of and behind the wheels that aren’t being lifted.
2. Loosen the lug nuts while the wheel is on the ground
Remove the hubcap or center cover if it blocks access. Use the correct socket to break each lug nut loose slightly, leaving every nut installed.
The tire’s contact with the ground helps keep the wheel from spinning while you loosen the fasteners. This is also the sequence described in Michelin’s wheel-changing guidance.
If a nut won’t budge, don’t jump on the wrench or wrestle with it after lifting the cart. Deal with the stuck fastener before moving on.
3. Lift at the approved point and support the cart
Position the jack exactly where your cart’s manual specifies. Lift only as far as the approved procedure requires, then position the rated jack stands at the designated support points and carefully transfer the load onto them.
Check that the stands are seated correctly and the cart is stable before removing the wheel. A jack lifts the cart; properly positioned stands support it during the work. Don’t substitute loose wood blocks, bricks, or cinder blocks, and never crawl under a cart supported only by a jack.
If the lifting point is damaged or the support setup doesn’t look right, stop. This is one part of the job that needs to feel boringly solid.
4. Remove the wheel and inspect what’s behind it
Remove the loosened lug nuts, put them in your tray, and slide the wheel off while supporting its weight. Keep your feet clear.
You’re removing the wheel’s lug nuts—not taking apart the center axle or brake assembly.
Look for damaged studs, stripped threads, cracks, and debris or corrosion that could prevent the replacement wheel from sitting flat against the hub. Follow the wheel maker’s cleaning instructions, and have damaged parts corrected before reinstalling anything.
Don’t add grease or anti-seize to lug threads unless the applicable installation instructions specifically require it; lubrication can change the relationship between tightening torque and clamping force.
A wheel stuck to the hub is a good reason to get help. Forceful kicking or prying can destabilize a supported cart.
5. Install the replacement wheel by hand first
Confirm the replacement tire’s required orientation, align the wheel with the studs, and seat it squarely against the hub.
Start every lug nut by hand. If one binds immediately, back it off and investigate. The wrench shouldn’t be doing the work of forcing incompatible or crossed threads together.
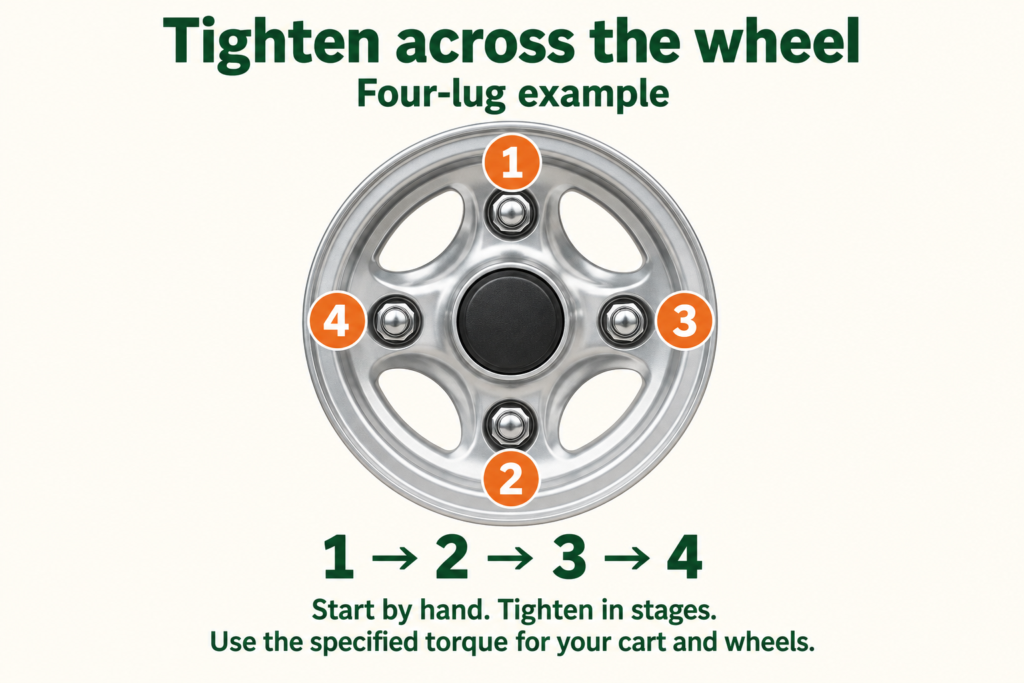
Snug the nuts evenly in a cross pattern, following the wheel instructions. On a four-lug wheel, that means working across opposite pairs instead of circling around the wheel. Use the appropriate pattern if yours has a different number of fasteners.
The wheel should sit flush. Don’t use an impact gun to pull a poorly seated wheel into place.
6. Lower as directed and finish with the specified torque
Follow the cart’s instructions for lowering and final tightening. Where the procedure calls for the tire to contact the ground before final torque, lower it only as directed after the wheel has been seated and snugged. Lift just enough to unload the stands before removing them, keeping yourself clear of the vehicle’s underside.
Use a torque wrench and the specified setting for your cart, wheels, and hardware, tightening progressively in the required cross pattern. If the cart and aftermarket wheel instructions seem to conflict, ask the supplier to resolve it before driving.
“Pretty tight” isn’t a measurement, and more torque isn’t automatically better. McGard’s fastener instructions reinforce correct fitment, hand starting, progressive cross tightening, and using a torque wrench for the final setting.
Finish lowering the cart according to its manual, and reinstall covers as instructed.
7. Check pressure, clearance, and how it feels
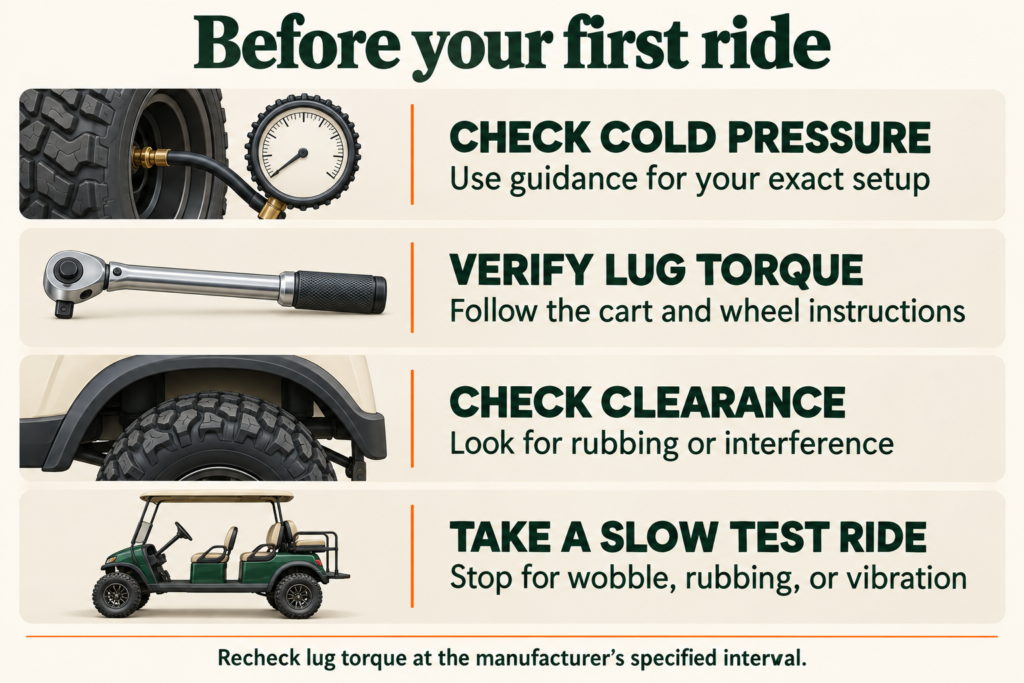
Check tire pressure while the tires are cold, using the recommendation for your exact cart, tires, wheels, and load. For a changed tire setup, confirm the appropriate pressure with the tire or wheel supplier.
Don’t automatically inflate to the maximum printed on the sidewall. A maximum pressure marking is a limit, not a universal everyday setting. USTMA’s tire-care guide explains that distinction.
Before driving, confirm that tools and lifting equipment are clear, the tire has clearance through the steering range, and the cart has been returned to its normal operating setup. A larger tire needs fitment verification that also accounts for suspension movement and load; looking fine while parked isn’t enough.
Then take a short, slow test ride in a clear area. Stop for wobble, rubbing, vibration, or unusual noise. Don’t keep driving and hope it settles in.
Recheck lug torque at the interval specified by the cart, wheel, or fastener manufacturer. Add it to your reminders now so the little follow-up job doesn’t get forgotten.
What if you’re replacing just the rubber tire?
You can still do part of the job yourself: remove the complete wheel safely, take it to a qualified tire shop, and reinstall the finished assembly using the steps above.
The shop can check whether the rim is reusable, inspect the valve, confirm tire-to-rim compatibility, and use the right equipment to demount and mount the tire. Ask whether valve service and any appropriate balancing are included.
Skip the screwdriver-prying, improvised bead-breaking, and “just add more air until it pops on” approaches. Tire mounting and bead seating can release dangerous stored energy when something goes wrong. Kenda’s tire safety information calls for trained personnel and proper tools and procedures.
If your existing wheel is damaged or unsuitable, browse our golf cart wheels and confirm fitment before replacing it.
A few questions that usually come up...
Do I need to replace all four golf cart tires?
Not automatically. The right choice depends on the remaining tires’ condition and your manufacturers’ matching requirements. Have the set inspected, and keep size, construction, tread, and wear compatibility in mind. One damaged tire doesn’t always mean four new ones, but it’s worth checking its neighbors.
Can I reuse my old lug nuts?
Only if they’re in good condition and match the replacement wheel’s required thread, seat, and engagement. A nut that screws onto the stud can still be wrong for the wheel.
Do new tires fix a shake or pull?
Not necessarily. Wheel seating, balance, alignment, bearings, and steering or suspension wear may need attention. If the cart shook or pulled before the swap—or starts doing it afterward—have the cause checked.
Let’s get you rolling again
Before ordering, gather your cart’s make, model, and year, a clear picture of the tire-size markings, and details about any lift kit or wheel changes. That gives us a much better starting point than “it looks about the same size.”
Contact Pete’s Golf Carts for help choosing a compatible replacement, and use our golf cart prep checklist to give the rest of your ride a little attention while you’re at it.
Get the fit right, take your time with the installation, and make that first ride a relaxed one. Your cart has places to be.