


Upgrading your golf cart doesn’t have to mean breaking the bank. In this installment of the Budget Buggy Series, we highlight solid, high-impact upgrades under $200 that boost aesthetics, safety, and comfort. All the parts below are (or can be) found at Pete’s Golf Carts just click through to explore.
1. LED Light Kits
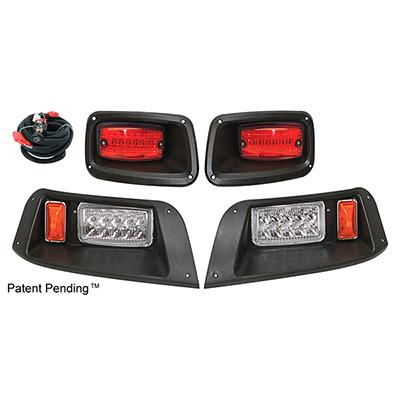
Lighting upgrades are among the best bang-for-buck mods they improve visibility, modernize your ride, and are relatively easy to install.
- EZGO Light Kit (12-48V) Street Legal LED
A full LED light kit with headlight, taillight, turn signals, and more. Many of Pete’s LED kits fall under $200.
(Browse for LED kit )
- Club Car DS Street Legal LED Light Kit
Offers a plug-and-play solution to upgrade your DS model with legal street lighting.
(Browse for Club Car LED kit )
Tip: When shopping, verify the voltage (12V, 36V, 48V) to match your golf cart’s wiring. Always check whether turn signals, brake lights, or wiring harnesses are included sometimes those are separate.
2. Mirrors & Side Mirrors
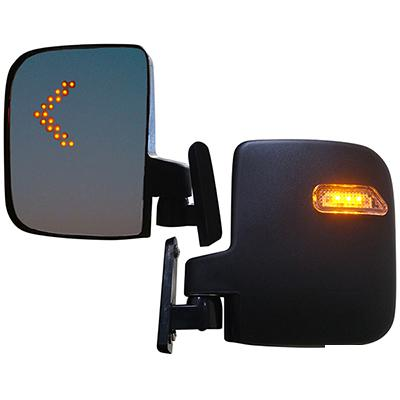
A small mirror upgrade can greatly enhance safety, especially if you’re driving in neighborhoods, resorts, or roads with cross-traffic.
Universal Golf Cart Side Mirrors
Look for small adjustable mirrors with ball mounts or clamp-on designs. Many in Pete’s “Golf Cart Accessories → Mirrors” section are under $50–$70.
(Browse for mirror )
- Rear View Mirror – Interior Style
A simple inside rear-view mirror gives you a better view behind your cart, especially helpful with rear seating or cargo.
(Browse for rear view mirror )

3. Steering Wheel Upgrades
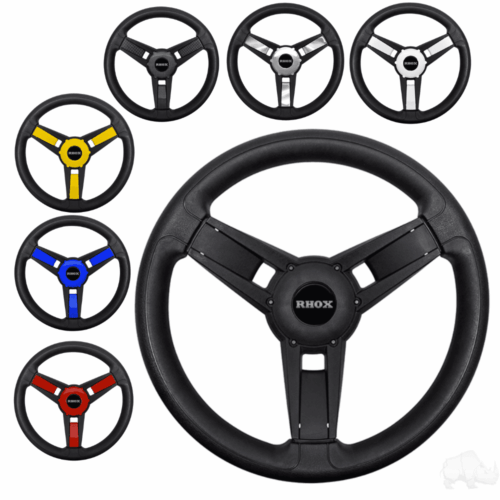
Changing out your stock steering wheel can transform both feel and aesthetics and many options stay comfortably under $200.
- Sport/Aftermarket Golf Cart Steering Wheel (13″–14″)
Many aftermarket wheels with padded grips, modern styling, or color accents can be had for $80–$150.
(Browse for steering wheel )
- Universal Quick Release Steering Hub Adapter
If you want a hot-rod look or removable wheel, a quick-release hub is a cool add-on (sometimes under $100).
(Browse for quick release hub )
4. Mirrors, Horns & Safety Accessories
These give your cart extra functionality without spending a ton.
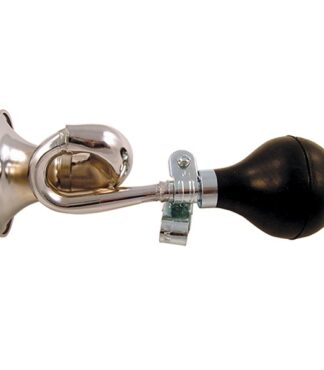
- 12V Air Horn or Electric Horn
A louder horn adds safety for road use or paths. Many 12V horns are under $40.
(Browse for horn / sound accessories on Pete’s)
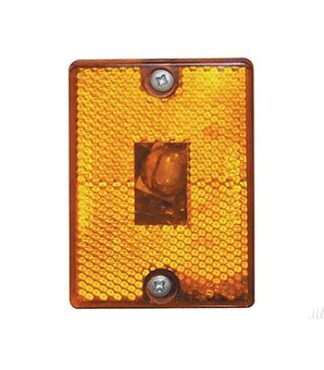
- Safety Reflectors / LED Marker Lights
Tiny marker lights or reflectors boost visibility often just $30–$60 per set.
(Browse for marker light )
5. Battery Watering System or Battery Monitors
Maintaining battery health is a smart upgrade not glamorous, but it saves money and improves reliability.
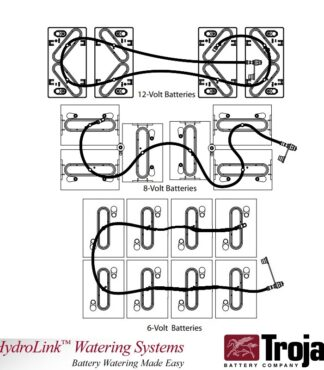
- Universal Battery Watering System (Flow-Type)
Keeps batteries topped off and prevents overwatering. Many kits are under $100.
(Browse for battery watering systems )
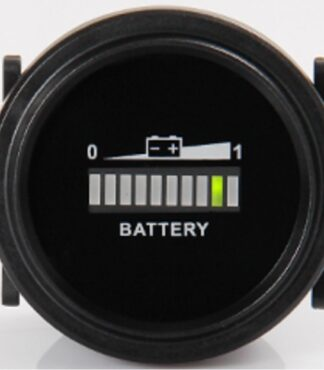
- Analog or Digital Battery Meter / Gauge
A battery level gauge helps you monitor voltage in real time. High-quality ones often cost $30–$100.
(Browse for battery meter / gauge on Pete’s)
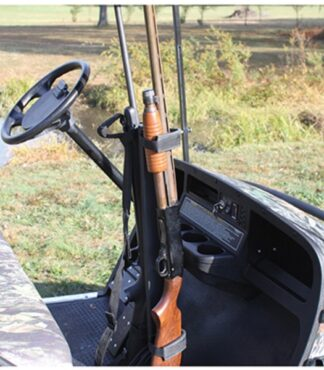
6. Grab Handles, Cup Holders, & Small Comfort Add-Ons
Little touches go a long way in user experience.
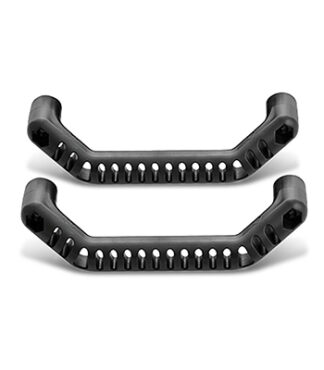
- Grab Handle / Assist Handle
Affordable handles that mount on side or roll bar often $20–$50.
(Browse for grab handle )
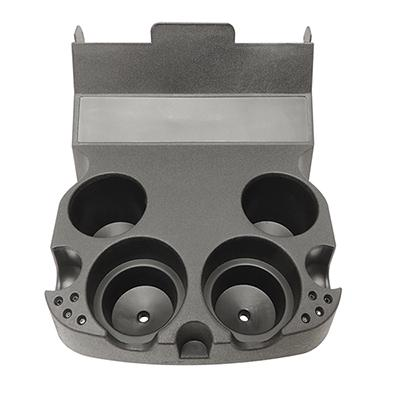
- Cup Holder / Mounting Brackets
Add a dedicated cup or phone mount so your items stay secure.
(Browse for cup holder)
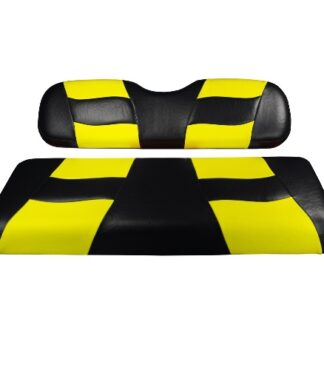
- Seat Covers / Seat Padding Upgrades
A padded seat cover, protector, or slip-on cushion can bring extra comfort for ~ $25–$80.
(Browse for seat cover / cushion in Pete’s seats / accessories)
Why These Upgrades Matter (Even Under $200)
| Benefit | Why It’s Worth It |
|---|---|
| Safety & Visibility | LED kits, mirrors, horns make your cart safer in low light or cross-traffic zones. |
| Style & Personalization | Steering wheels, grab handles, light accents let you give your cart personality. |
| Battery & System Health | Watering systems and meters help extend battery life and avoid surprise failures. |
| Comfort & Usability | Cup holders, better grips, and padded handles make your cart more enjoyable. |
Installation Tips & Best Practices
- Disconnect battery power before doing any wiring or electrical work.
- Label wires when removing old components to avoid mixups.
- Temporarily test lighting, horn, and wiring before final mounting.
- Use threadlocker or locknuts on components subject to vibration (e.g. handles, mirror mounts).
- For watering systems, follow Pete’s official guide they suggest charging batteries fully before installation, cleaning battery tops, installing valves, then routing tubing cleanly.