


Ensuring your golf cart delivers optimal performance, safety, and longevity involves more than just routine cleaning. A crucial, yet often underestimated, element is proper wheel alignment. Ignoring it can lead directly to a less enjoyable ride, characterized by drifting or pulling, and result in the premature, costly replacement of your tires. Think of it like the alignment on your car – essential for predictable handling and maximizing the life of your rubber. Whether you’re actively troubleshooting steering issues, noticing uneven tire wear patterns, or wisely incorporating alignment checks into your preventative maintenance schedule, this article is your essential resource.
Our detailed, step-by-step guide empowers you with the practical knowledge for effective DIY golf cart alignment at home. You’ll learn how to precisely measure and adjust alignment, ensuring correct wheel direction, and understand how steering and suspension systems work together.
The benefits include a smoother, more stable ride, predictable tracking, significantly longer tire life (saving money!), and greater peace of mind.
Please note: This guide offers general procedures suitable for most makes like Club Car, Yamaha, EZGO, and modified carts, though specific designs may vary slightly. Get ready to significantly enhance your golf cart experience!

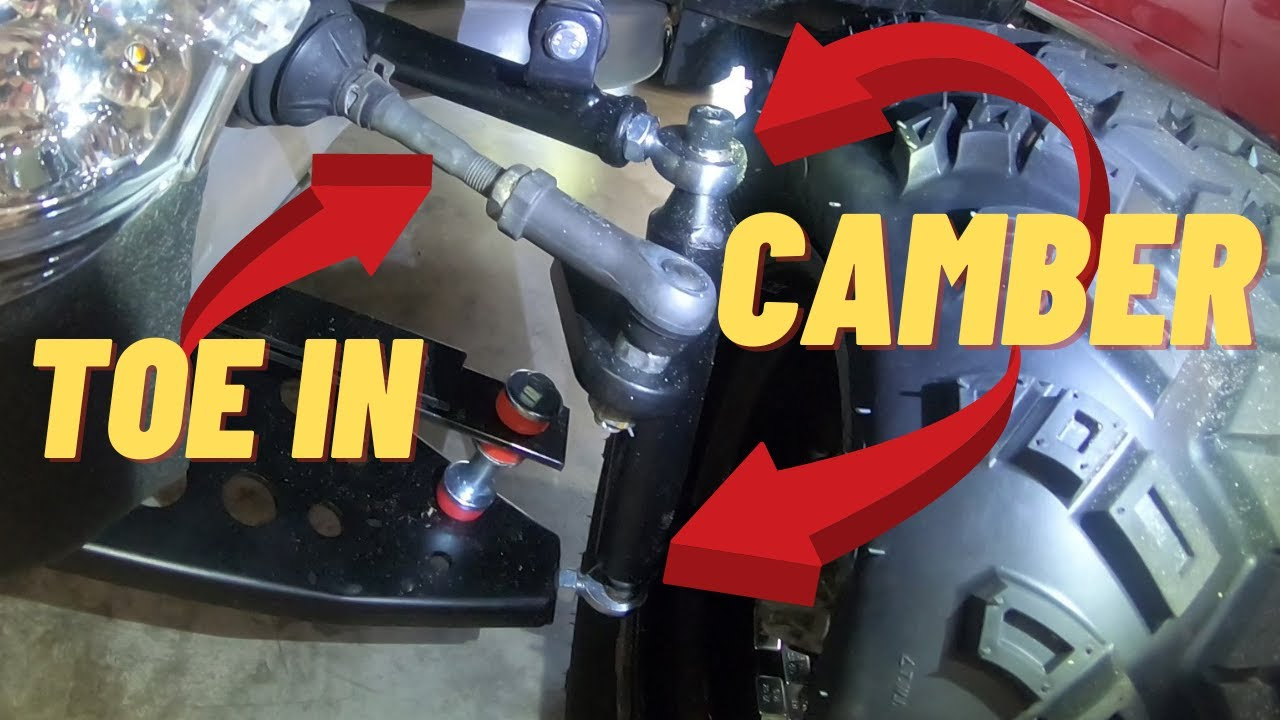
Toe and Camber are two terms we’ll use often in this guide—so it’s crucial to understand them. These are the key adjustable elements in properly aligning your golf cart. Below, you’ll find a quick definition of each term, and we’ll dive deeper into their specifics in the sections that follow
Key Alignment Terms
Before we dive in, let’s clarify two essential adjustments:
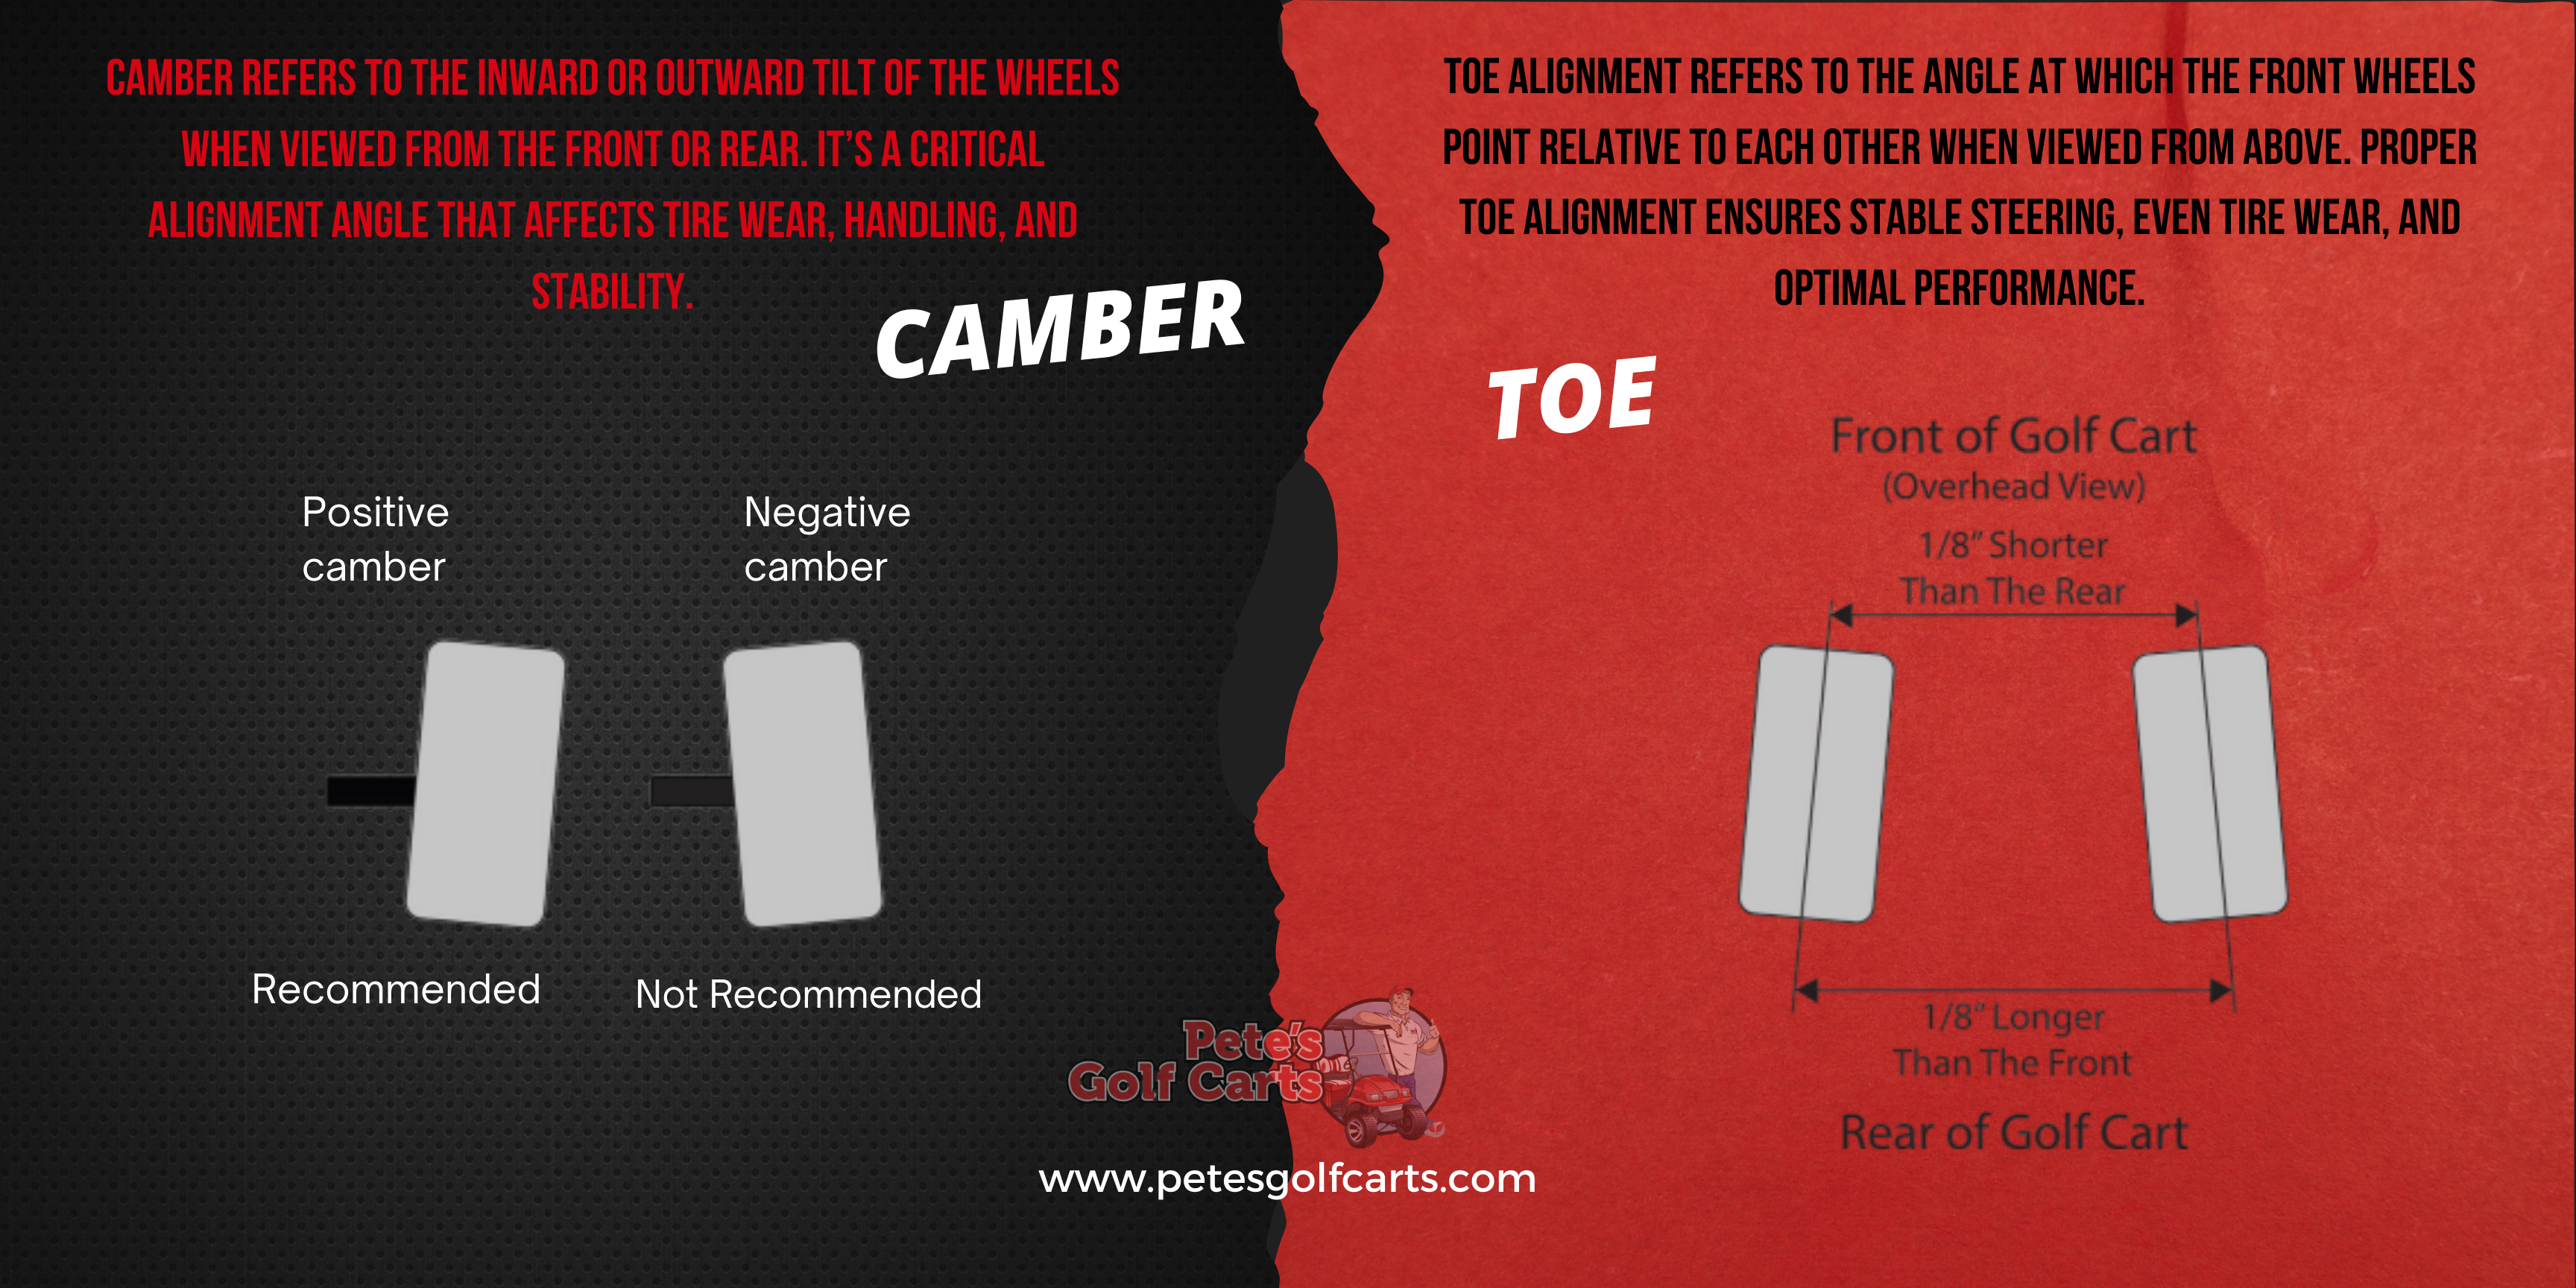
1. Camber (Tire Tilt)
- Positive Camber → Tires tilt outward at the top (ideal for most carts)
- Negative Camber → Tires tilt inward at the top (can cause uneven wear)
2. Toe-In (Tire Angle)
- Toe-In → Front of tires point slightly inward (recommended for stability)
- Toe-Out → Front of tires point outward (can cause instability and wear)
For an even clearer explanation, Jerry Pate from Club Car Service School breaks down both terms perfectly in THIS video.
When to Align Your Golf Cart: Spotting the Signs Before Damage Occurs
Proper alignment is both a critical repair procedure and an essential part of preventative maintenance for your golf cart. While some situations demand immediate attention, regular checks can prevent costly damage and ensure optimal performance.
Critical Signs You Need an Alignment Now:
- Uneven Tire Wear Patterns
- Inside/outside shoulder wear (indicates camber issues)
- Feathering or scalloped tread (suggests toe problems)
- Cupping (may point to suspension or alignment problems)
(Pro Tip: Rotate your tires every 500-1,000 miles to help identify alignment issues early. Need new tires? We carry premium golf cart tires with alignment-friendly warranties!)
- Steering Problems
- Cart pulls left or right when driving straight
- Steering wheel off-center when moving straight
- “Wandering” feeling at higher speeds
- After Impact Events
- Collisions with curbs, trees, or other obstacles
- Hitting deep potholes at speed
- Any accident requiring suspension/steering repairs
- After These Common Modifications:
- Lift Kits (even 1″ changes geometry significantly)
- Suspension Upgrades (new leaf springs, shocks, or A-arms)
- Wheel/Tire Changes (especially wider or taller setups)
- Steering Components (tie rods, knuckle arms, or rack replacements)
- Weight Additions (rear seats, cargo boxes affecting ride height)
Preventative Maintenance Schedule:
While usage varies, we recommend:
- Annual alignment check for standard carts
- Every 6 months for lifted/modified carts
- Before and after heavy use seasons
- After carrying heavy loads repeatedly
Why Modern Carts Need More Attention:
Today’s golf carts face unprecedented demands:
- Higher speeds (many now reaching 25+ mph)
- Mixed terrain use (pavement, grass, trails)
- Increased payloads (families, gear, accessories)
- Longer lifespans (10-15 years of service common)
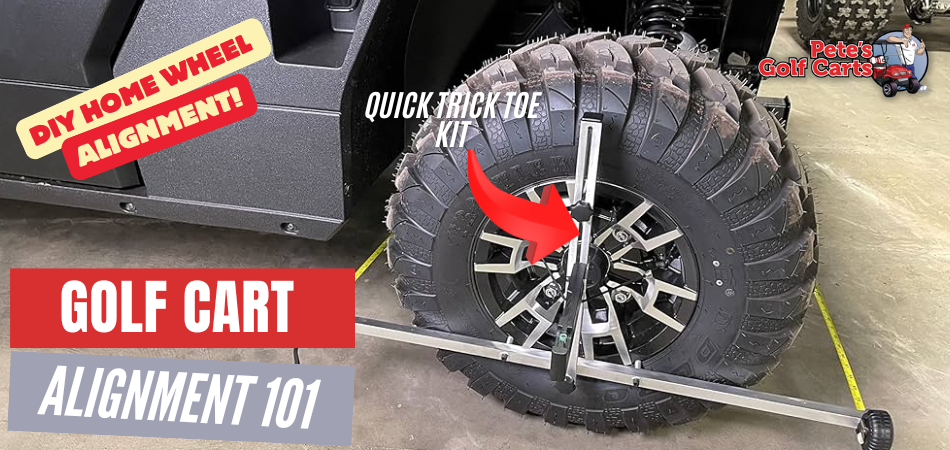
DIY Home wheel alignment!
Hey, neither am I! Here’s the best part: aligning your golf cart is totally doable as a DIY project with basic tools you likely already own. No fancy skills required!
Here’s what you’ll need from your toolbox:
Essential Tools:
- Open-ended wrenches (typically 17mm, 14mm, 12mm, and 10mm – sizes vary by manufacturer)
- Tape measure (a standard metal one works perfectly)
- Framing square or straight edge (for checking angles)
- Marker, chalk, or grease pen (optional but handy for marking tires)
- Floor jack (to lift your cart safely)
Nice-to-Have Helper:
- A trusty assistant (makes things easier, but you can manage solo if needed)
See? Nothing complicated! In the steps ahead, we’ll walk you through the entire process so you can get your golf cart rolling straight and true.
Ready! …
- Start by inspecting your cart’s steering and alignment components—this is a crucial first step. You don’t want to invest time and effort only to discover another issue later. Check the leaf springs, knuckle arms, ball joints, and suspension for any signs of wear or damage.
- Park the cart on a level, solid surface, and make sure all four tires are fully inflated.
- If applicable, remove the front bumper assembly to gain easier access to the necessary components.
Adjusting Golf Cart Camber
1. Park your cart on flat, solid ground with the steering wheel centered and the front bumper removed.
2. Verify that the leaf spring is centered on the golf cart. If off-center, loosen up the four bolts on the bottom side of the spring plate to free up the leaf spring and adjust left-right as needed. Tighten down when centered.3. Beginning on one side of the cart, put one side of your right angle straight edge on the ground and the other against the outside face of your tire. Does the edge lie flush against the tire’s face, or can you see daylight through either the top or bottom?
(Remember, space on the bottom of the tire means your tires have positive Camber, and space on the top means negative Camber)
4. Measure the angle the same way on the opposite side and compare the two. If they do not match, and/or there is more than ⅛” (3.2mm) of space between the straight edge and the tire, the Camber should be adjusted accordingly.
5. Raise the cart off the ground slightly with a floor jack.
6. To adjust the Camber on your golf cart tires, loosen the Heim Joint(s) (Rod End Bearing) to free up the tire to move around.
7. With both hands, adjust the tire(s) in the desired direction (towards or away from the body of the cart, as needed).
8. Lower your golf cart back to the ground, and repeat the process from step 3 above until you achieve the ideal positive Camber: around ⅛” of space between the bottom of the tire and your right angle.
9. As a final check, have your trusty assistant take a seat in the cart. At the same time, take one last measurement on both tires to ensure they angle correctly (and equally) with the added weight of a rider (there should be a more neutral camber than without a rider– tires are more straight up and down).
Toe-In / Toe-Out
(And No, We Don’t Mean the Dance Move)
Alright, let’s talk about toe. No, not the ones on your feet—the angle of your golf cart’s front tires. You already get the basics: toe-in means the fronts of the tires are closer together than the rears, and toe-out is the opposite. But here’s why it matters.
When your cart is moving, those front tires don’t like staying put. They want to push outward (thanks, physics). So, we give them a little toe-in—just a slight pigeon-toed stance—so when they inevitably try to splay apart under motion, they settle into perfect alignment instead of going full snowplow. Get this wrong, and you’ll be buying new tires way sooner than you should, not to mention putting extra strain on your steering and suspension.

Why Toe-In Matters (The Physics Bit)
When your golf cart rolls:
- Dynamic Forces push front tires outward (lateral scrub from rolling resistance)
- Compliance in bushings and joints lets them wander
- Toe-In (1/8″ typically) pre-loads the system so tires stabilize at zero scrub angle under motion
Real-World Translation:
Set ’em slightly pigeon-toed at rest so they go straight when moving. Skip this and you’ll see:
- Feathered treadwear (that ugly diagonal scraping pattern)
- Excessive steering load (wearing out joints faster)
- Squirrelly handling (because nobody likes a cart that wanders)
Precision Toe Adjustment: No Guesswork Allowed
Tools You Actually Need
- Dial Calipers (ideal) or a rigid tape measure (budget option)
- Chalkline (for consistent marking)
- 24mm wrench (for those jam nuts)
- Jack stands (if you value your fingers)
The Pro Method
- Baseline Measurement
- Roll cart forward 10 feet to settle suspension
- Mark center tread grooves front and rear on both tires
- Measure front-to-front and rear-to-rear distances
- Calculate Delta
- Target: Front measurement 3-4mm LESS than rear
- Example:
- Rear: 1,016mm
- Front: 1,013mm (perfect 3mm toe-in)
- Adjust Like a Mechanic
- Loosen BOTH jam nuts (left=standard thread, right=reverse thread)
- Use tie rod rotation count method:
- 1 full turn ≈ 2mm toe change
- Always adjust symmetrically
- Final Validation
- Bounce suspension to relieve tension
- Re-measure
- Test drive and check for zero steering wheel pull
Advanced Pro Tips
- Laser Check: Use smartphone alignment apps for live feedback
- Wear Patterns Don’t Lie:
- Inside edge wear = Too much toe-in
- Outside edge wear = Toe-out condition
- Hot Tip: Always recheck after 50 miles—components settle
When to Call It Quits
If you’re seeing:
- Uneven adjustments (one side won’t match)
- Play in tie rods (wiggle test >1mm movement)
- Persistent pull after alignment
…then your suspension needs real repairs, not just adjustments.
And just like that—you’re done! Two essential alignments (camber and toe) conquered in a handful of steps. We promised you could achieve pro-level precision in your own garage, and you’ve delivered. Now revel in buttery-smooth steering, even tire wear, and the sweet satisfaction of dodging $150+ shop bills and half-day waits. (Funny how that “saved” money just magically transforms into a new wheel/tire combo, isn’t it?) Speaking of which…