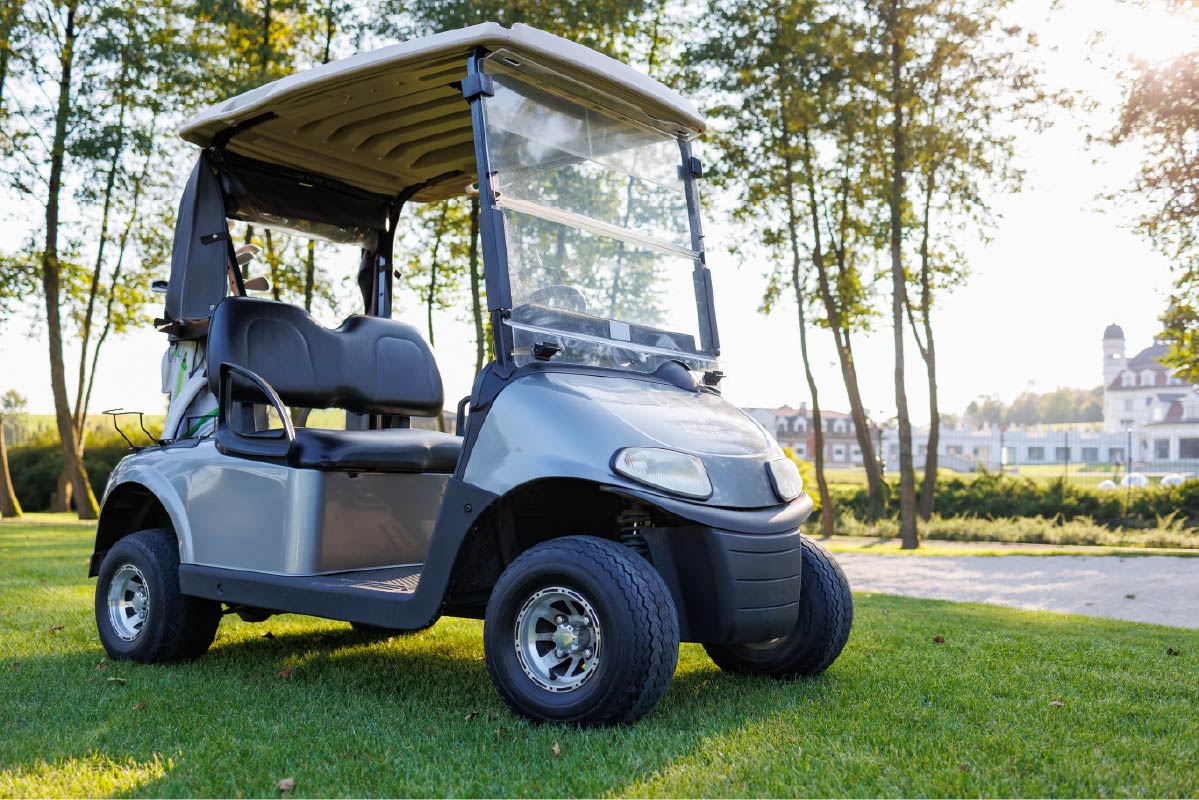
So, you’ve decided to give your golf cart a makeover. Excellent choice! A new golf cart body kit is a fantastic way to inject some personality and style into your ride, whether you’re cruising the fairways or zipping around the neighborhood.
This guide will walk you through the process of installing a golf cart body kit, providing you with the knowledge and confidence to tackle this DIY project. Let’s get started!
1. Choosing Your Body Kit
Before we dive into installation, let’s talk about the different types of golf cart body kits available. The two most common materials are:
- Fiberglass: Known for its durability and ability to take on intricate shapes. Fiberglass body kits tend to be more expensive but offer a premium look and feel.
- ABS Plastic: A more budget-friendly option. ABS plastic is lightweight and flexible, making it easier to work with, especially for beginners.
When selecting a body kit, consider your budget, desired style (sporty, classic, rugged, etc.), and the level of customization you’re looking for.
2. Gathering Your Tools
Having the right tools on hand will make the installation process smoother and more efficient. Here’s a list of essential tools:
- Screwdrivers: A variety of sizes, both Phillips and flathead.
- Wrenches: Metric and standard sizes to fit the bolts on your golf cart.
- Drill: With different drill bits for pilot holes and securing screws.
- Tape Measure: Accurate measurements are crucial for proper alignment.
- Utility Knife: For trimming any excess material or making adjustments.
- Pliers: For gripping and holding small parts.
- Rubber Mallet: For gently tapping body panels into place.
- Heat Gun (for ABS plastic kits): To help with shaping and molding the plastic.
- Safety Glasses: Protect your eyes from debris.
- Gloves: To protect your hands.
3. Prepping for Installation
- Clear the Workspace: Ensure you have ample space to work around the golf cart comfortably.
- Disconnect the Battery: Safety first! Disconnect the battery to avoid any electrical mishaps.
- Remove the Old Body Panels: Carefully remove the existing body panels from your golf cart. Take note of how they are attached, as this will help you with the new installation.
- Clean the Frame: Thoroughly clean the golf cart frame to remove any dirt, rust, or debris. This will ensure a good fit for your new body kit.
4. Installing the New Body Kit
Now for the exciting part! Follow these steps to install your new body kit:
- Test Fit the Panels: Before you start drilling or screwing anything in, do a dry run. Place the new body panels on the frame to check for alignment and fit.
- Make Adjustments: If you encounter any fitment issues, use your utility knife or heat gun (for ABS plastic) to make minor adjustments.
- Secure the Panels: Once you’re happy with the fit, start attaching the body panels to the frame. Use the provided screws or bolts, ensuring they are tightened securely but not overtightened.
- Install Accessories: If your body kit includes headlights, taillights, or other accessories, install them according to the manufacturer’s instructions.
- Reconnect the Battery: Once everything is in place, reconnect the battery.
5. Finishing Touches
- Inspect Your Work: Take a step back and admire your handiwork! Inspect the body kit for any gaps, misalignments, or loose parts.
- Fine-Tuning: Make any final adjustments to ensure a perfect fit and finish.
- Clean Up: Clean up any tools, debris, or leftover materials.
Tips for a Successful Installation
- Read the Instructions: This might seem obvious, but carefully read the instructions that come with your specific body kit. They will provide valuable guidance and tips.
- Take Your Time: Don’t rush the process. Rushing can lead to mistakes and frustration.
- Work with a Friend: Having an extra set of hands can be incredibly helpful, especially when handling larger body panels.
- Patience is Key: Installing a body kit can be a bit challenging at times. Be patient, take breaks when needed, and don’t be afraid to seek help if you get stuck.
Enjoy Your New Ride!
Congratulations! You’ve successfully installed your new golf cart body kit. Now it’s time to hit the road (or the golf course) and show off your stylish ride.
Need More Help?
If you have any questions or run into problems during the installation, please don’t hesitate to contact us at help@petesgolfcarts.com. We’re happy to assist!


